


This is "ANYTSUGI Kintsugi Workshop," a six-part series on how to do Kintsugi. In this final installment, we cover the finishing step — sprinkling gold powder over the urushi to create the beautiful gold lines.
The break lines you've been carefully repairing transform into golden lines — this is the most rewarding step in the entire Kintsugi process. You're almost there; enjoy every moment of it!
▼ Previous installments in the Kintsugi Workshop
→[Part 1: Preparing to Start Kintsugi]
→[Part 2: How to Repair Cracks]
→[Part 4: Filling Chips and Surface Irregularities]
→[Part 5: The Intermediate Coat]
Step 1: Wet Sand the Black Urushi to Remove the Gloss
Before applying gold powder, sand the surface of the black urushi applied during the intermediate coat.
A shiny, glossy surface of black urushi prevents bengala-urushi from adhering properly. Matting the surface gives the bengala-urushi a firm hold.
1. Cut wet sandpaper into 2cm squares, fold into thirds, and soak in water

2. Gently sand the black urushi surface until the gloss disappears and it becomes matte

Sanding the black urushi surface will cause the gloss to fade and leave a matte finish.
※ Take care not to let the wet sandpaper contact the vessel's surface, as it may damage any painted or printed decoration.
3. Wipe away any residue and moisture with tissue

If any area of black urushi remains glossy after sanding, it is a sign that the surface is recessed in that spot. Going back to redo the intermediate coat from Part 5 before continuing will produce a cleaner final result.
Step 2: Make Bengala-Urushi
For the finishing step, we use bengala-urushi. It is made by darkening raw urushi through air exposure and then blending in bengala powder (red ochre pigment). The process is the same as making black urushi in Part 5 — the only difference is using bengala powder instead.
1. Place raw urushi on the palette — about 2cm in diameter

Place raw urushi on the palette. Aim for a circle roughly 2cm in diameter.
2. Use a spatula to spread the raw urushi thin and keep exposing it to air

Use the rubber spatula to continuously spread the raw urushi out in a thin layer.
Alternating between spreading horizontally and spreading vertically ensures that different surfaces of the raw urushi are constantly exposed to air.
3. After about 3 minutes of spreading, the raw urushi will begin to darken

After about 3 minutes, the raw urushi will shift to a dark brown or black color.
Keep spreading until it reaches the color shown in the photo.
4. Add bengala powder to the palette — slightly less in volume than the darkened raw urushi


Add bengala powder (red ochre pigment) in an amount slightly less than the volume of raw urushi to the palette.
5. Knead until no granules remain, pressing down firmly with the spatula

Blend the raw urushi and bengala powder together using the rubber spatula, pressing the granules flat using the flex of the spatula until no granules remain.

When held up on the rubber spatula, the bengala-urushi is ready when it drips slowly. If it runs off like water, it's too thin — add a small amount of bengala powder and adjust.
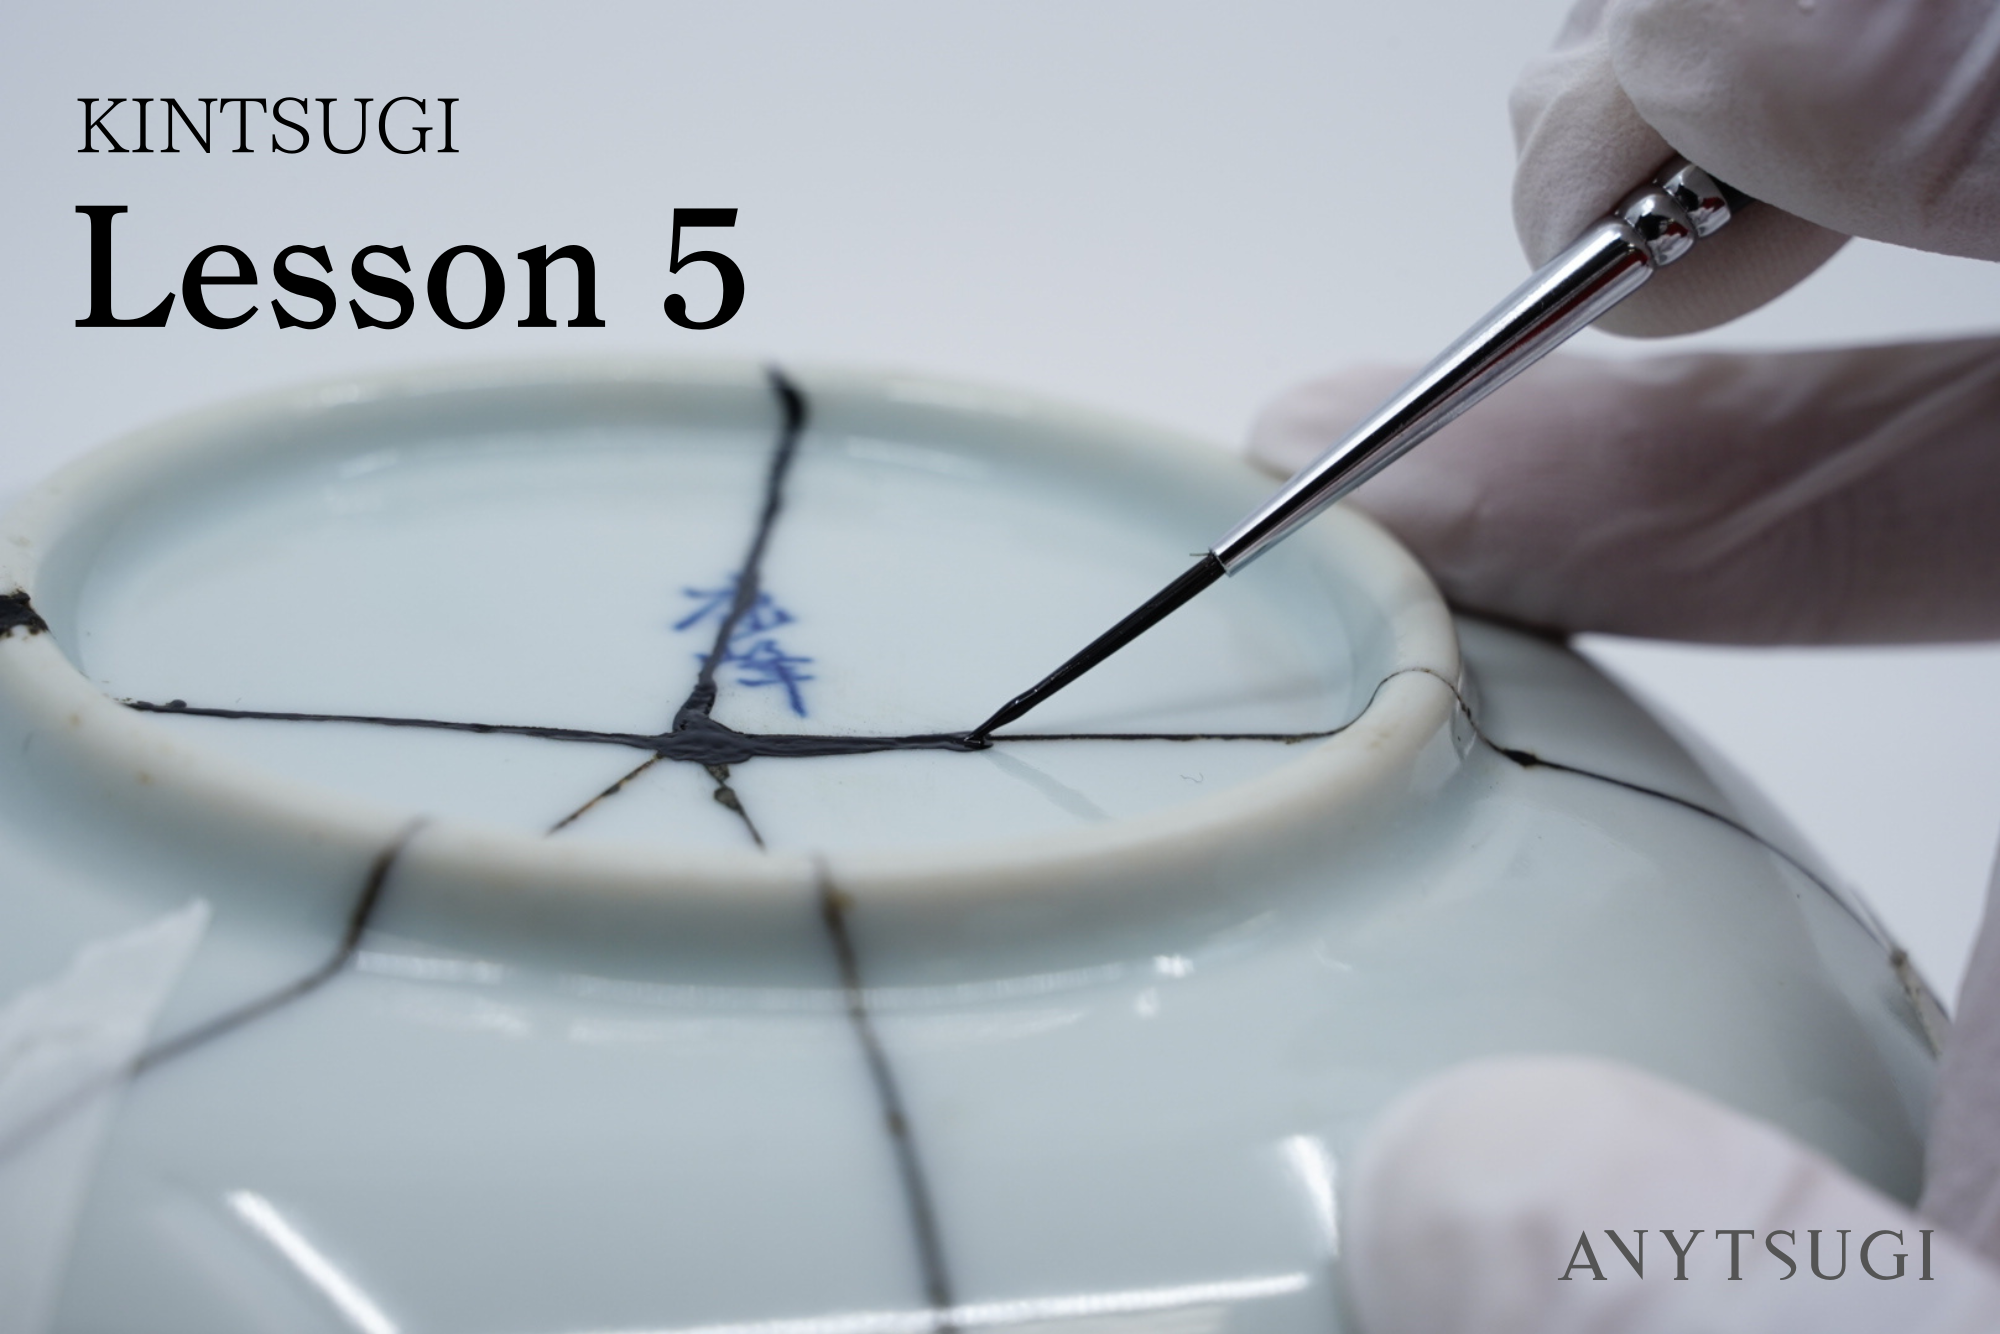
Step 3: Apply Bengala-Urushi Thinly
Apply bengala-urushi in as thin a layer as possible. Too thick a coat will cause the gold powder to apply unevenly and may lead to wrinkling after curing.
1. Load a small amount of bengala-urushi onto the brush and apply a thin layer over the intermediate coat on the repair lines


There's no need to apply it in a single stroke — focus on covering every area without gaps and without going outside the lines.

2. Place in the urushi bath for approximately 30 minutes

The right time to apply gold powder is when the bengala-urushi is half-dry. Once fully dry, the gold powder won't adhere — so if you're unsure, move on sooner rather than later.
Step 4: Apply the Gold Powder
It's time to apply the gold powder. Gold powder is extremely light and will drift away with even a slight air current. Before starting, close all windows and turn off any ventilation fans.
1. Open the gold powder wrapper and place a weight on it to keep it from blowing away

2. Gather floss silk into a small bundle and pick up plenty of gold powder

Gather the floss silk into a small, compact bundle.

Pick up plenty of gold powder onto the floss silk.
3. Move the floss silk in small circles over the repair line to apply the gold powder

If the floss silk itself comes into direct contact with the urushi, the urushi will cling to it and roughen the surface. Think of it as only the gold powder on the surface of the floss silk touching the bengala-urushi as you move it.

Once you've covered the repair line, go over it again with larger circular motions to fill in any gaps.
4. Move the floss silk in circles over the repair line and polish gently

Gently polishing the gold powder on the repair line will bring out its luster.

5. Return any excess gold powder from the floss silk and vessel surface to the wrapper

Return as much gold powder as possible from the floss silk and the vessel surface to the wrapper (gold powder is precious — make sure to collect it).
6. Cure in the urushi bath for at least one day — then the vessel is complete
After Completion: Removing Excess Gold Powder and Surface Finishing

Once curing is complete, gently wipe away any excess gold powder remaining on the surface with alcohol-free wet wipes.
Do not use wet wipes containing alcohol or ethanol. These can cause the gold powder to come off.
Caring for Your Repaired Vessel
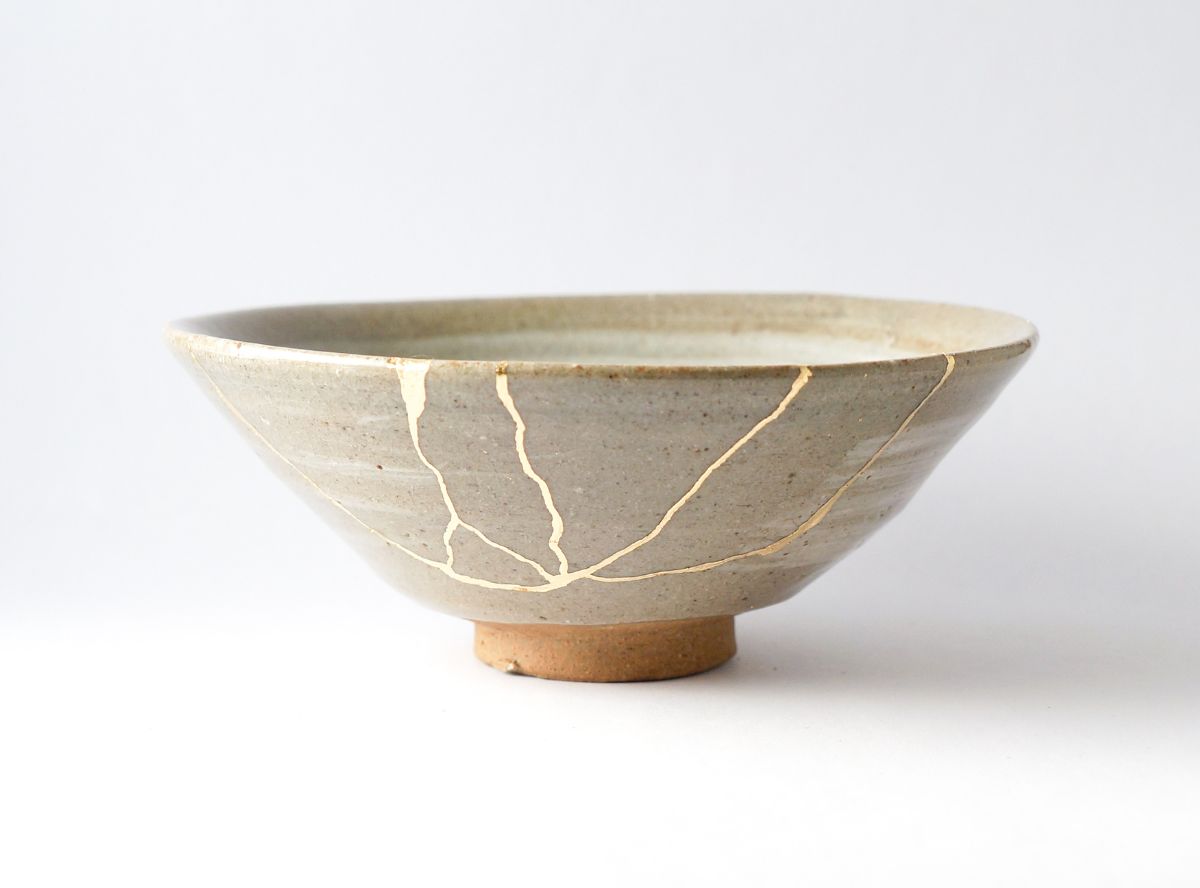
This completes all the steps of Kintsugi!
Attaching each fragment with urushi, building up kokuso-urushi, layering the intermediate coat — the vessel that has been patiently restored over all this time has taken on a new character distinct from what it was before.
The gold lines you created will remain part of that vessel for years to come. Treasure it and use it for a long time.
【Care Instructions for Your Kintsugi Vessel】
- Wash by hand with mild dish soap and a soft sponge
- Avoid using abrasive sponges or scrubbers
- Do not soak in water for extended periods
- Do not use in a microwave
- Do not use in a dishwasher
- Do not use in an oven or over an open flame


![Kintsugi Arita Ware Plate with Peony and Quail Motif – Matte Gold Powder Finish [Free Shipping]](http://anytsugi.com/cdn/shop/files/kintsugi-finished_1.jpg?v=1773053961&width=1500)
![Kintsugi Arita Ware Plate with Peony and Quail Motif – Matte Gold Powder Finish [Free Shipping]](http://anytsugi.com/cdn/shop/files/kintsugi-finished_2.jpg?v=1773054067&width=1500)
![Kintsugi Gien Plate "Mode de Paris" - Matte Gold Powder Finish [Free Shipping]](http://anytsugi.com/cdn/shop/files/kintsugi-finished_8.jpg?v=1773053961&width=1500)
![Kintsugi Gien Plate "Mode de Paris" - Matte Gold Powder Finish [Free Shipping]](http://anytsugi.com/cdn/shop/files/kintsugi-finished_9.jpg?v=1773053961&width=1500)
![Kintsugi Arabia "Emilia" Plate - Matte Gold Powder Finish [Free Shipping]](http://anytsugi.com/cdn/shop/files/kintsugi-finished_16.jpg?v=1773053961&width=1500)
![Kintsugi Arabia "Emilia" Plate - Matte Gold Powder Finish [Free Shipping]](http://anytsugi.com/cdn/shop/files/kintsugi-finished_17.jpg?v=1773053961&width=1500)
Leave a comment
This site is protected by hCaptcha and the hCaptcha Privacy Policy and Terms of Service apply.