

This is "ANYTSUGI Kintsugi Workshop," a six-part series on how to do Kintsugi. In this third installment, we cover "bonding a break" — the process of rejoining a broken vessel.
The adhesive used in Kintsugi is mugi-urushi (wheat urushi adhesive) — a natural adhesive made by kneading all-purpose flour and raw urushi together. Once cured, mugi-urushi bonds with the material itself, so it won't peel away from heat or moisture. Because it's made entirely from natural ingredients, vessels repaired with it are safe to use as tableware.
→ If you haven't gathered your tools and materials yet: [Part 1: Preparing to Start Kintsugi]
→ If you haven't repaired any cracks yet: [Part 2: How to Repair Cracks]
Before You Begin: Does Your Ceramic Vessel Need Sizing?

Only those with white or thinly glazed ceramic vessels (vessels with a rough surface texture) need to check this section. If you have porcelain (a smooth, white vessel), you can skip ahead to Step 1.
If you're not sure whether your vessel is ceramic or porcelain, refer to the table below.
| Ceramic (Earthenware) | Porcelain | |
| Sound when tapped | Low, dull thud | High, clear ring |
| Surface texture | Rough and warm to the touch | Smooth and cool to the touch |
| Held up to sunlight | Opaque | Slightly translucent |
Thinly glazed ceramic vessels (those with a rough surface texture) are porous, meaning urushi can soak into the surface and cause staining. Performing a pre-treatment process called sizing prevents this from happening.
Sizing procedure
-
Fill a pot with enough water to fully submerge the vessel.
-
Mix 20g of all-purpose flour per 1,000ml of water, dissolving it thoroughly to avoid lumps.
-
Add the vessel and bring to a boil over low to medium heat, stirring occasionally to prevent the flour from settling.
-
Once boiling, reduce to low heat and simmer for 20 minutes.
-
Turn off the heat and leave until the water returns to room temperature (several hours).
-
Remove the vessel, rinse under water until the slippery residue is gone, and leave to dry overnight.
Step 1: Chamfer the Broken Edges

Use a diamond file to abrade the broken edges of the pieces. This process is called chamfering.
The reason this step is necessary is that broken edges often retain glazed, smooth sections where mugi-urushi won't adhere properly. Filing the surface creates enough texture for the urushi to grip firmly.

How much to file: Aim for a gap of about 0.5mm when the pieces are held together. If you press your fingernail against the edge and feel a slight catch, you've filed enough.

Step 2: Make Mugi-Urushi
Prepare mugi-urushi (wheat urushi adhesive) — the natural adhesive used to bond the break.
Tools and materials needed: Raw urushi, all-purpose flour, water, palette, spoon, rubber spatula, dropper
※ Since urushi is being used, always wear nitrile gloves during work.
1. Place about one spoonful of all-purpose flour on the palette

2. Add water one drop at a time using a dropper and knead thoroughly with a spatula

Add water gradually using a dropper and knead the flour. Aim for a total water amount roughly equal to the amount of flour used.
Use the rubber spatula to knead until the paste reaches a slightly springy consistency — like bread dough or an earlobe: not too stiff, not too soft.
If the mixture is too wet, add a little more flour. If it's too dry and powdery, add a touch more water.

3. Knead in a roughly equal amount of raw urushi to the flour paste


Check for the sign of completion: when you press the rubber spatula into the mixture and lift it slowly, the mugi-urushi is ready if it stretches 7–10cm and the thread breaks slowly.

If the mixture lacks elasticity due to insufficient moisture, add a small amount of raw urushi and continue kneading.
If the mixture is too wet and won't develop the right consistency, make a small additional batch of flour paste and add it gradually.
Storing leftover mugi-urushi: Unused mugi-urushi can be stored wrapped in plastic wrap for 2–3 days. However, its curing performance degrades over time, so use it up as much as possible.
Step 3: Bond the Pieces Together
Use mugi-urushi as an adhesive to bond the broken pieces back together.
Tools and materials needed: Mugi-urushi, bamboo spatula, masking tape, urushi bath
※ Since urushi is being used, always wear nitrile gloves during work.
1. Prepare masking tape in advance
After bonding the pieces, you'll secure them temporarily with masking tape. Cut about 10 strips of masking tape to approximately 3–5cm in length in advance and stick them somewhere within easy reach.

Tip for a cleaner finish: Vessels with a rough surface texture (thinly glazed ceramics) are prone to urushi staining, so protecting the area around the join with masking tape will result in a cleaner finish.

2. Use a bamboo spatula to apply a thin layer of mugi-urushi to the broken edge

Apply mugi-urushi as thinly as possible to both sides of the broken edge. Aim for just enough that a small amount of mugi-urushi squeezes out when the pieces are pressed together.

3. Press the pieces together one by one and secure with masking tape

Apply masking tape perpendicular to the break line. Applying too much tape over the break will prevent urushi from coming into contact with air, inhibiting curing.
Repeat the same process for all remaining pieces and secure with masking tape.

4. Check for any misalignment or unevenness after bonding

Gently run the back (non-blade side) of a design knife along the join to check for any misalignment or unevenness. If there is any misalignment, correct it at this stage.
5. Place in the urushi bath and allow to cure for approximately one week

An urushi bath is a simple humidity chamber made from a cardboard box (or container) and a damp towel.
Setup is straightforward: find a cardboard box or plastic container large enough to comfortably fit the vessel, then place a well-wrung damp towel inside. If using a cardboard box, line the bottom with a plastic bag or similar material to protect against moisture.
After bonding the break, place the vessel in the urushi bath and allow it to cure for approximately one week.
Urushi cures best at a temperature of 20–25°C (68–77°F) and humidity of around 65–80%. In Japanese winters, temperatures can drop too low, so store the vessel somewhere warm when possible.
Step 4: Once Cured, Trim Away Excess Mugi-Urushi with a Design Knife

After leaving the vessel for approximately one week and confirming the mugi-urushi has fully cured, use a design knife to trim away any excess that squeezed out. Fully cured mugi-urushi is easy to carve away. Take care not to scratch the surface of the vessel.
Once complete, the break bonding stage is finished. Clean your tools and move on to the next step!
Step 5: Clean Up Your Tools
Here's how to clean the tools you've used.
Cleaning the Palette and Rubber Spatula


- Add oil to the palette to loosen the urushi.
- Wipe away the residue with a tissue.
- Repeat steps 1–2 until clean.
- Finish by wiping with an ethanol-dampened tissue.
Cleaning the Bamboo Spatula

- Wipe away any urushi with a tissue.
※ Over time, urushi may build up on the tip of the bamboo spatula and become difficult to remove. If this happens, sand it off with sandpaper. For routine cleaning, simply wiping with a tissue is sufficient.
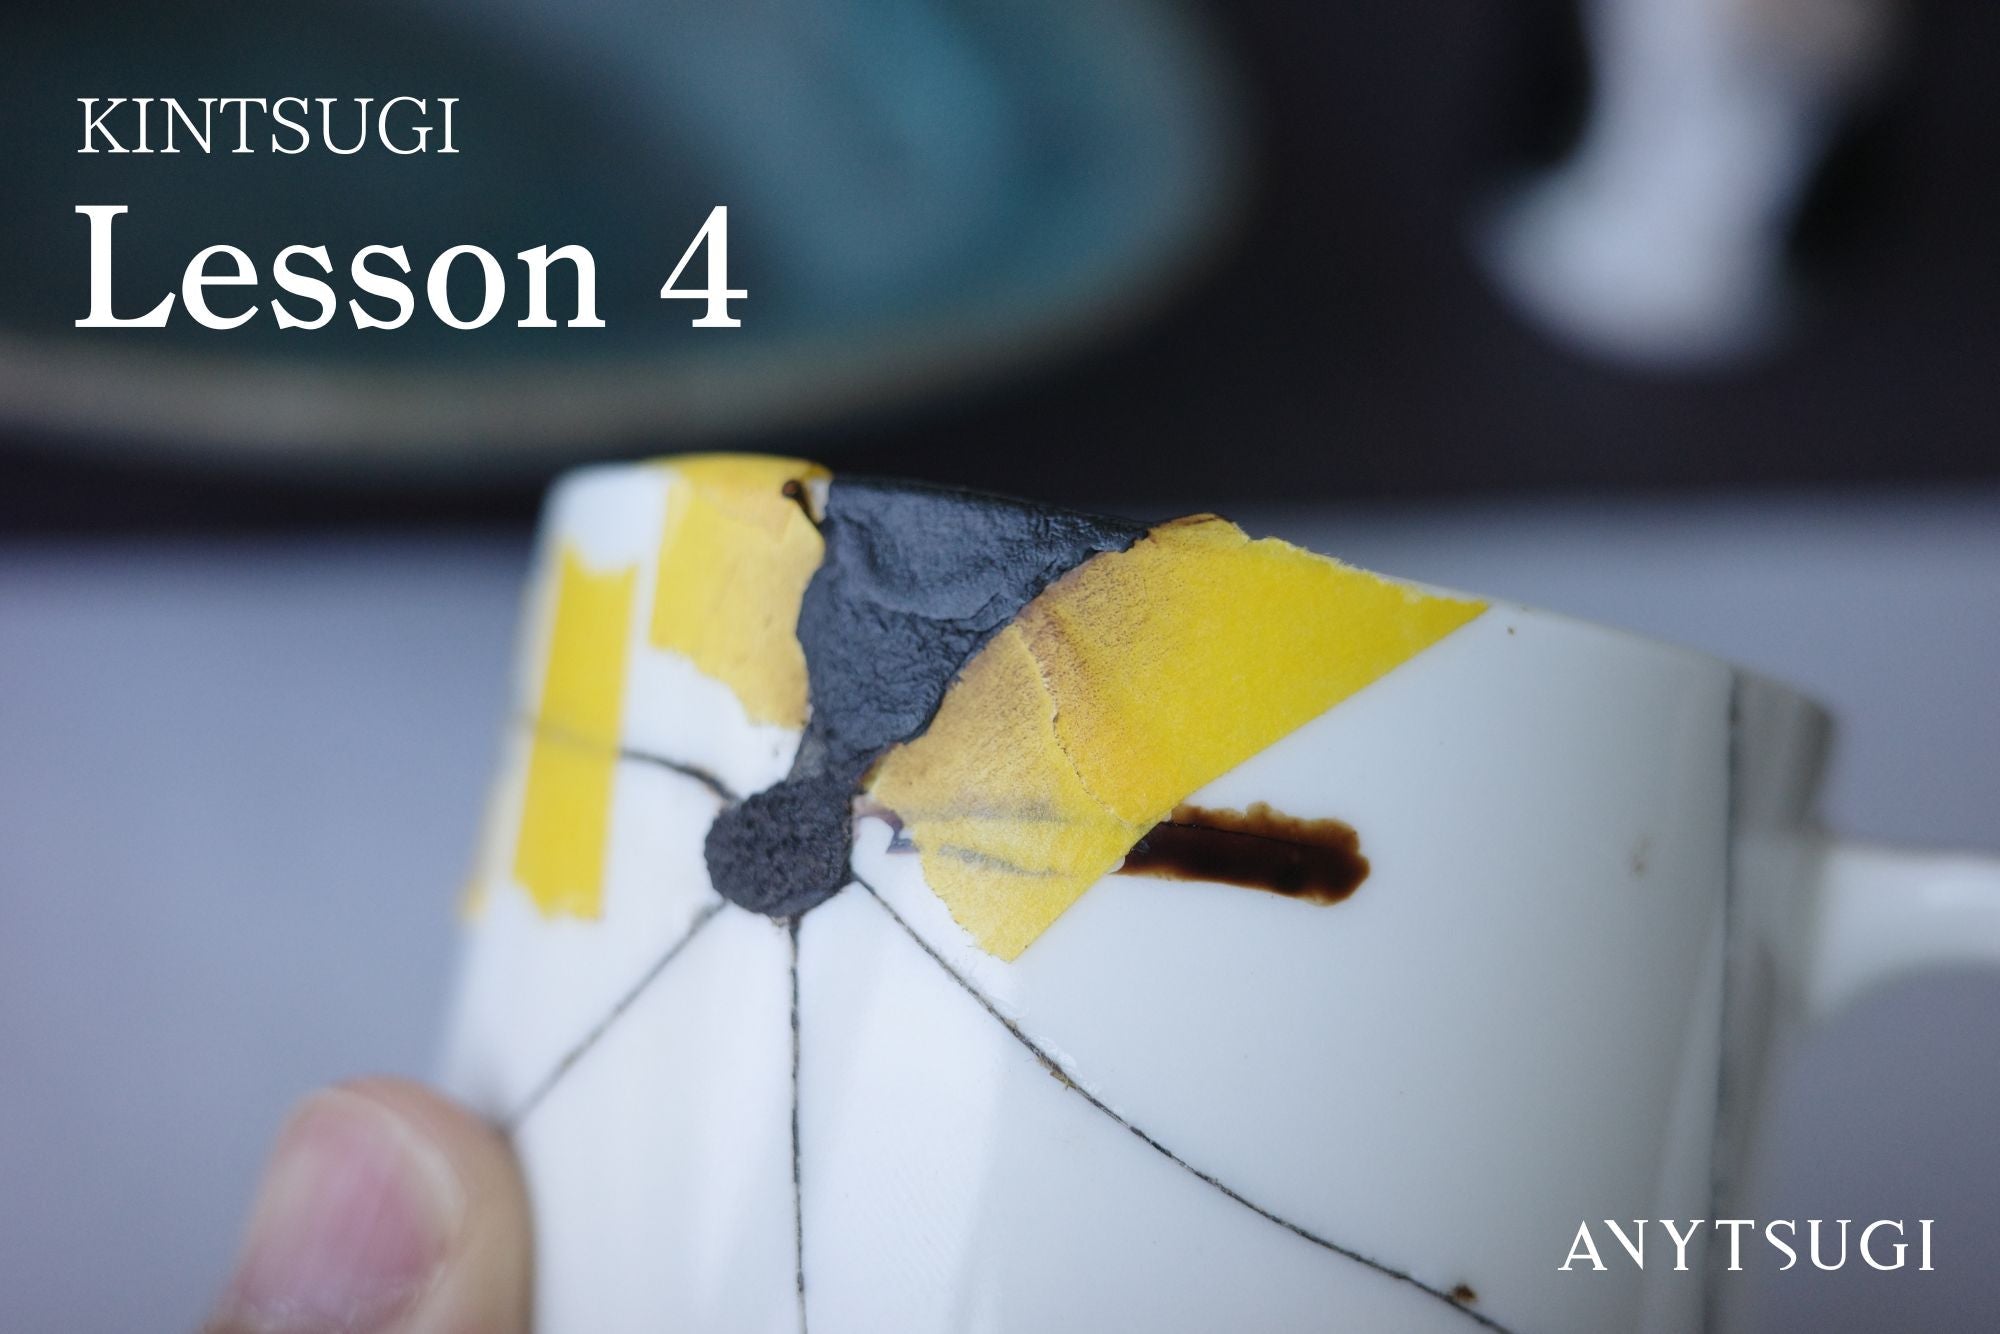
Next Installment: How to Fill Chips
In the fourth installment of the Kintsugi Workshop, we'll cover how to fill chips in detail. It involves mixing raw urushi with a different material than this time to create a putty-like filler. We'll work through it carefully in the next installment!


![Kintsugi Arita Ware Plate with Peony and Quail Motif – Matte Gold Powder Finish [Free Shipping]](http://anytsugi.com/cdn/shop/files/kintsugi-finished_1.jpg?v=1773053961&width=1500)
![Kintsugi Arita Ware Plate with Peony and Quail Motif – Matte Gold Powder Finish [Free Shipping]](http://anytsugi.com/cdn/shop/files/kintsugi-finished_2.jpg?v=1773054067&width=1500)
![Kintsugi Gien Plate "Mode de Paris" - Matte Gold Powder Finish [Free Shipping]](http://anytsugi.com/cdn/shop/files/kintsugi-finished_8.jpg?v=1773053961&width=1500)
![Kintsugi Gien Plate "Mode de Paris" - Matte Gold Powder Finish [Free Shipping]](http://anytsugi.com/cdn/shop/files/kintsugi-finished_9.jpg?v=1773053961&width=1500)
![Kintsugi Arabia "Emilia" Plate - Matte Gold Powder Finish [Free Shipping]](http://anytsugi.com/cdn/shop/files/kintsugi-finished_16.jpg?v=1773053961&width=1500)
![Kintsugi Arabia "Emilia" Plate - Matte Gold Powder Finish [Free Shipping]](http://anytsugi.com/cdn/shop/files/kintsugi-finished_17.jpg?v=1773053961&width=1500)
Leave a comment
This site is protected by hCaptcha and the hCaptcha Privacy Policy and Terms of Service apply.