
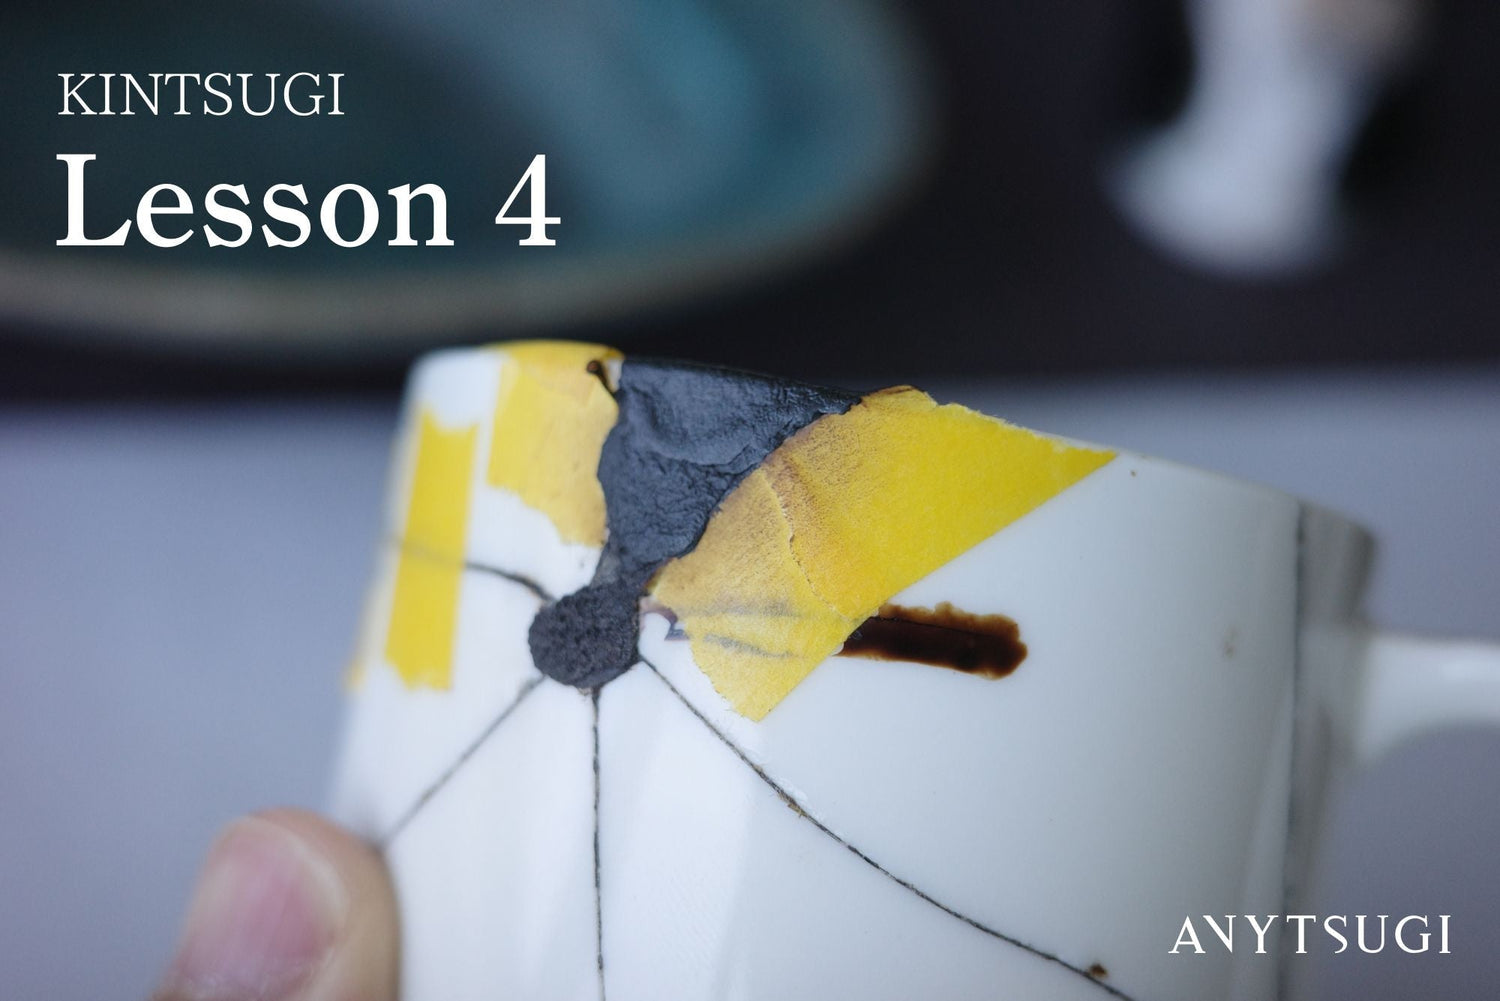

This is "ANYTSUGI Kintsugi Workshop," a six-part series on how to do Kintsugi. In Part 4, we cover "filling chips" — the process of filling in any unevenness or gaps left after bonding and leveling the surface.
Even after bonding is complete, unevenness and gaps typically remain around the break line. For chips 1mm or deeper, use kokuso-urushi (urushi putty); for finer surface irregularities, use sabi-urushi (urushi filler).
This article covers how to decide which material to use, how to make each one, how to apply them, and what to do if they won't cure.
If you haven't completed the earlier steps yet, start from Part 1.
→[Part 1: Preparing to Start Kintsugi]
→[Part 2: How to Repair Cracks]
First, Check: Which Material Should You Use?
|
Depth of Chip |
Material to Use |
|---|---|
|
1mm or more (deep chips, missing pieces) |
Kokuso-urushi (urushi putty) |
|
Under 1mm (fine surface irregularities, small gaps) |
Sabi-urushi (urushi filler) |
|
Not sure |
Start with kokuso-urushi for larger areas, then finish fine details with sabi-urushi |
It's common for a single vessel to have damage of both depths. In that case, fill the larger areas with kokuso-urushi first, then once dry, use sabi-urushi to refine the finer details.
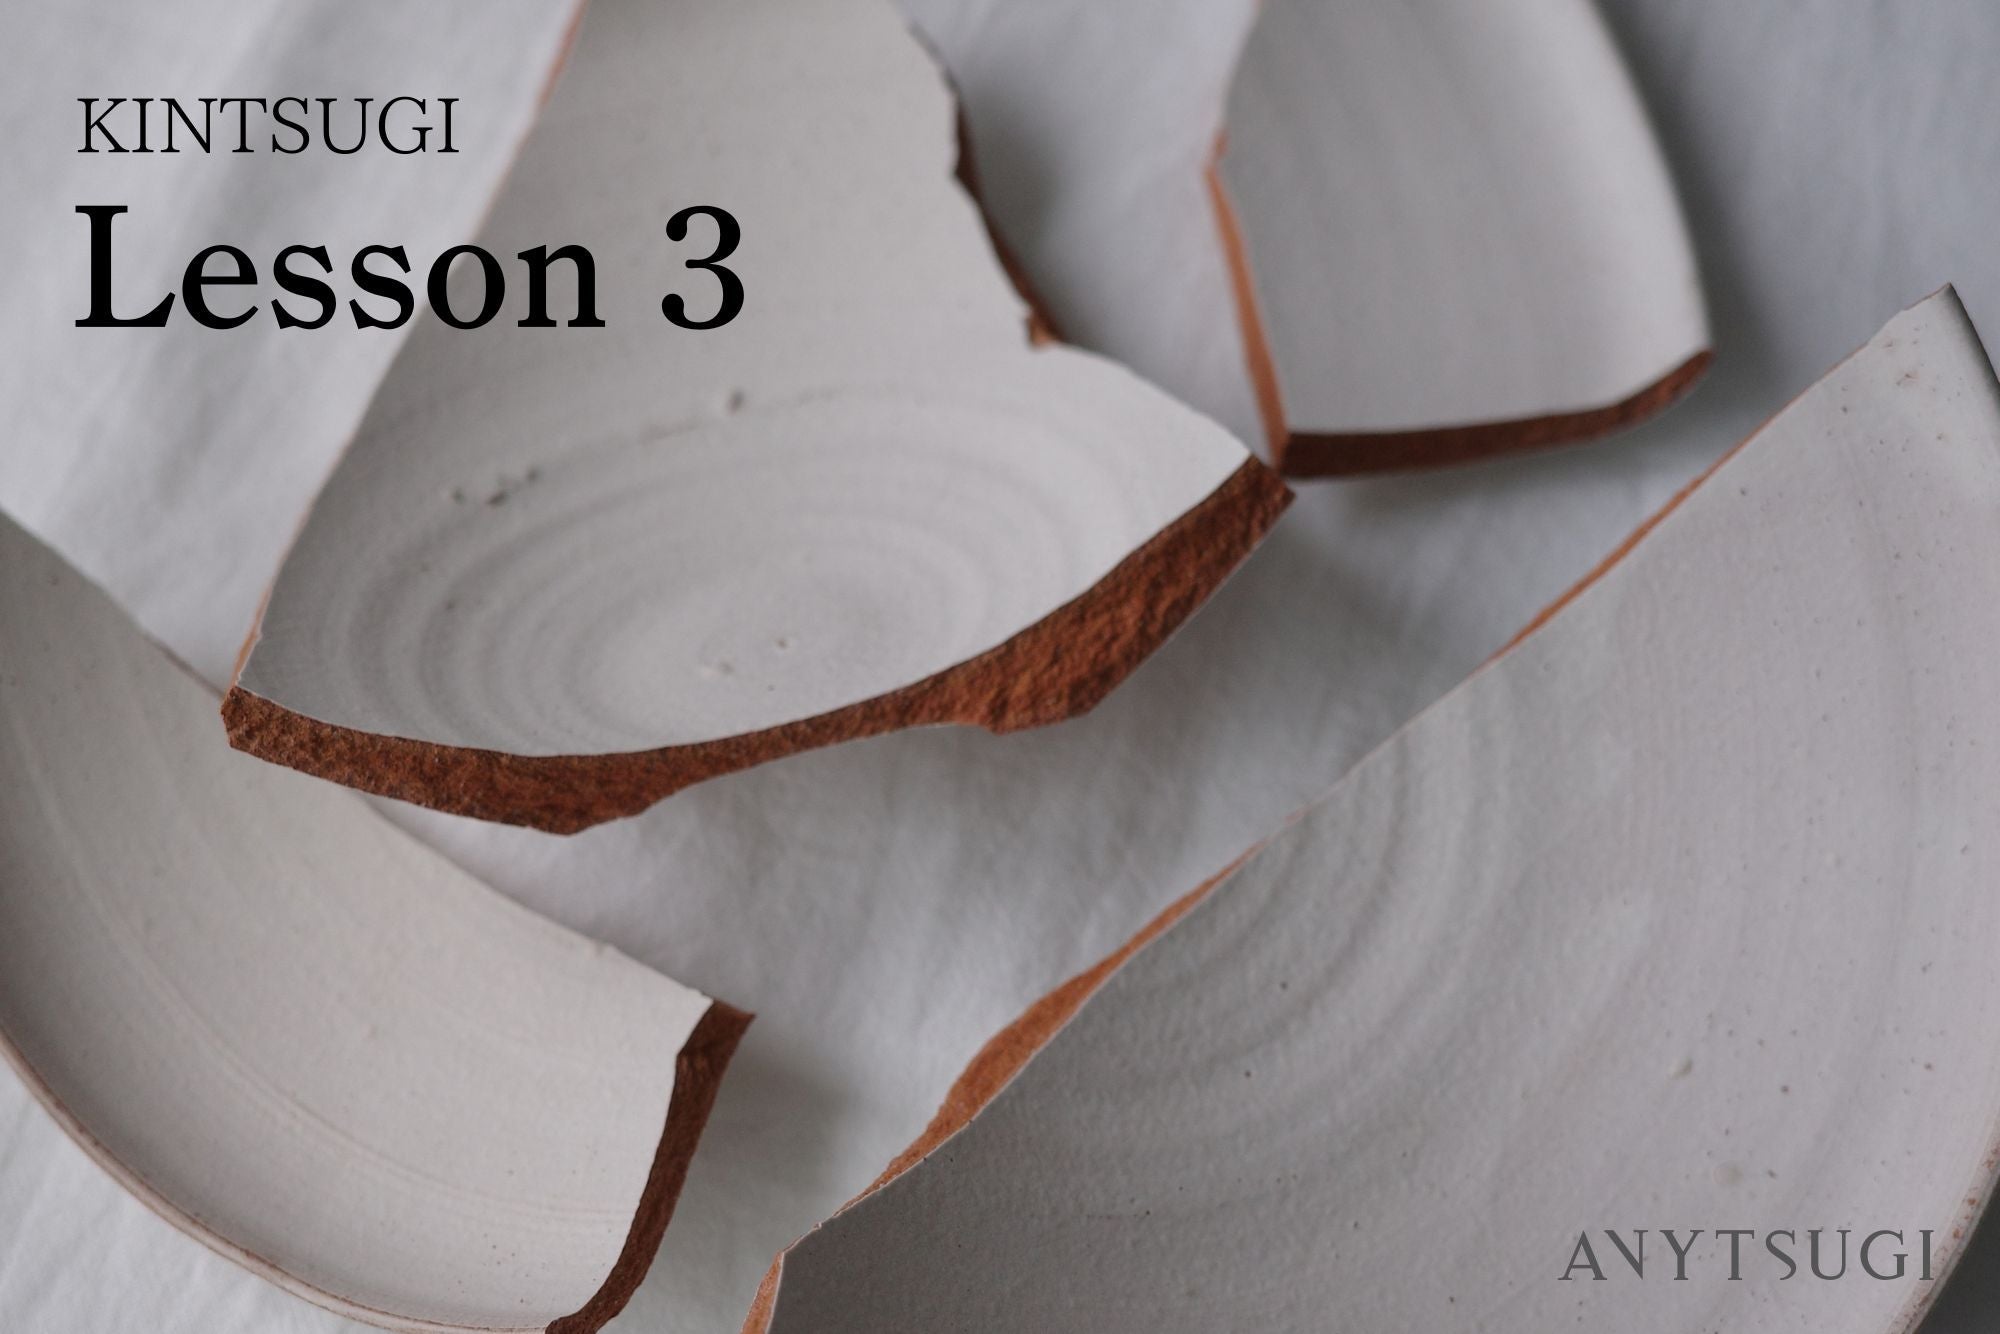
Filling Deep Chips with Kokuso-Urushi
Kokuso-urushi is made by mixing wood powder and tonoko powder into mugi-urushi. Wood powder is finely ground wood such as hinoki cypress; tonoko powder is finely ground stone.
Tools and materials needed: Raw urushi, all-purpose flour, water, wood powder, tonoko powder, palette, rubber spatula, bamboo spatula, diamond file, masking tape, design knife / craft knife, wet sandpaper
※ Since urushi is being used, always wear nitrile gloves during work.
1. Abrade the glazed surface with a diamond file

If the chip edge feels smooth and glazed, use a diamond file to roughen the surface. Urushi won't adhere well to smooth glazed areas. There's no need to over-file — just enough to remove the smooth feel is sufficient.
2. Make mugi-urushi

- Place about one spoonful of all-purpose flour on the palette.
- Add an equal amount of water using a dropper and knead.
- Add an equal amount of raw urushi to the flour paste and knead.
- Once it develops a sticky, elastic consistency, the mugi-urushi is ready.
For the full mugi-urushi instructions, refer to [Part 3: Bonding a Break > Step 2: Make Mugi-Urushi].
3. Add wood powder and tonoko powder to the mugi-urushi to make kokuso-urushi

Add equal amounts of wood powder and tonoko powder to the mugi-urushi on the palette (ratio by volume: mugi-urushi 10 : wood powder 10 : tonoko powder 10).
Since beginners are unlikely to get the consistency right on the first try, it's a good idea to set aside one-third of the mugi-urushi to the side of the palette and make the kokuso-urushi with the remaining two-thirds.
This way, if the kokuso-urushi becomes too crumbly from adding too much powder, you can add the reserved mugi-urushi to adjust.

Use a rubber spatula to knead the mugi-urushi, wood powder, and tonoko powder together thoroughly.

The kokuso-urushi is ready. The right consistency is when you press the rubber spatula into it and lift up, it just barely releases from the spatula cleanly without clinging.
If too much wood powder was added, the mixture will crumble. In that case, add a small amount of the reserved mugi-urushi and knead again to adjust.
4. Protect the area around the chip with masking tape

5. Apply kokuso-urushi in small amounts using a bamboo spatula

Apply kokuso-urushi in layers no more than 1–2mm thick at a time. Applying too thick a layer prevents the interior from curing properly, leaving the inside uncured while only the surface dries.
Once enough kokuso-urushi has been applied to fill the chip, use a gloved hand to lightly shape it along the contour of the vessel. Since the shape will be refined later with a file and knife, rough shaping is fine at this stage.
Large chips cannot be fully filled in one pass — repeat the process of applying kokuso-urushi and curing in the urushi bath for one day until the chip is built up sufficiently.
6. Cure in the urushi bath for approximately one day

For deep chips that can't be filled in 1–2mm layers, repeat the cycle of "apply 1–2mm of kokuso-urushi → cure in the urushi bath for one day" to gradually build up the fill.
Quick Tip: How to Check If It Has Cured
|
Condition |
How to Check |
|---|---|
|
Cured |
Doesn't dent when pressed with a stick or toothpick. Scratching leaves a white mark (hard, crisp feel). |
|
Not yet cured |
Dents when pressed. No mark left when scratched (soft, rubbery feel). |
※ Touching with bare skin can cause urushiol dermatitis. Always use gloves or a stick to check.
If the kokuso-urushi still hasn't cured after 1–2 weeks, either of the following approaches can help. This is one of the most common issues reported by first-time Kintsugi practitioners — moving on to the next step before it's fully cured will directly lead to peeling later.
Option 1 — Pierce the surface: Use an ice pick or awl to make holes evenly across the kokuso-urushi. Exposure to air will allow it to cure within 3–4 days. The holes can be filled with sabi-urushi afterward.
Option 2 — Start over: Remove the kokuso-urushi with a blade and reapply. This takes more time, but it's the most reliable fix.
The most common causes of kokuso-urushi not curing are applying it too thick or using too little wood powder.
7. Once cured, level the kokuso-urushi with a design knife and wet sandpaper

Once cured, refine the shape of the kokuso-urushi. Start by removing the masking tape that was used to protect the surrounding area.

Next, use a design knife to trim away any excess kokuso-urushi and shape the surface.

Cut a small piece of wet sandpaper (about 2cm square) and fold it into thirds. Wet it with water and sand the kokuso-urushi surface until it is level. Wipe away any residue with a tissue.
When sanding near painted or patterned areas, take care not to let the sandpaper contact the vessel's surface and wear away any decoration.
This completes the filling of deep chips. Next, use sabi-urushi to smooth any fine surface irregularities that the kokuso-urushi couldn't fully address.
Leveling Fine Irregularities with Sabi-Urushi
Once the larger chips have been filled, use sabi-urushi (urushi filler) to address any remaining fine irregularities or gaps under 1mm. Even if you didn't use kokuso-urushi, any fine unevenness left after bonding can be handled in this step.
Tools and materials needed: Raw urushi, water, tonoko powder, palette, rubber spatula, bamboo spatula, masking tape
1. Make sabi-urushi

Place about two spoonfuls of tonoko powder on the palette and break up any clumps with a rubber spatula. Tonoko powder tends to clump and may contain small granules.

Once the tonoko powder is a fine, even powder, add water one drop at a time using a dropper and knead it in.

It's ready when the tonoko powder reaches about the consistency of mustard.

Add raw urushi to the palette in an amount roughly half the volume of the tonoko powder mixture, then blend together with a spatula (ratio by volume: tonoko powder 10 : raw urushi 5).

The sabi-urushi is ready when it reaches about the consistency of mayonnaise.

※ Sabi-urushi dries out quickly on the palette — keep it gathered into a small mound and use a spatula to cover the surface as you work, minimizing air exposure.
2. Apply a thin layer of sabi-urushi to the repair area

Use a bamboo spatula to apply a thin layer of sabi-urushi over the break line and on top of any kokuso-urushi.
※ For vessels with a rough surface texture (thinly glazed ceramics), protect the surrounding area with masking tape to prevent staining.

Use a gloved finger to press the sabi-urushi firmly into the surface and work it smooth.
A bamboo spatula alone won't reach fine gaps effectively, so pressing it in firmly with your finger is the key to good coverage.
3. Cure in the urushi bath for approximately one day
After applying sabi-urushi, place the vessel in the urushi bath for approximately one day to allow the urushi to cure.
If the sabi-urushi was applied too thick, or if the proportion of raw urushi was too high, it may not cure and can begin to weep (ooze a liquid residue).
If this happens, remove the uncured sabi-urushi with a bamboo spatula and reapply a thinner layer. Any areas that have already cured can be left as is.
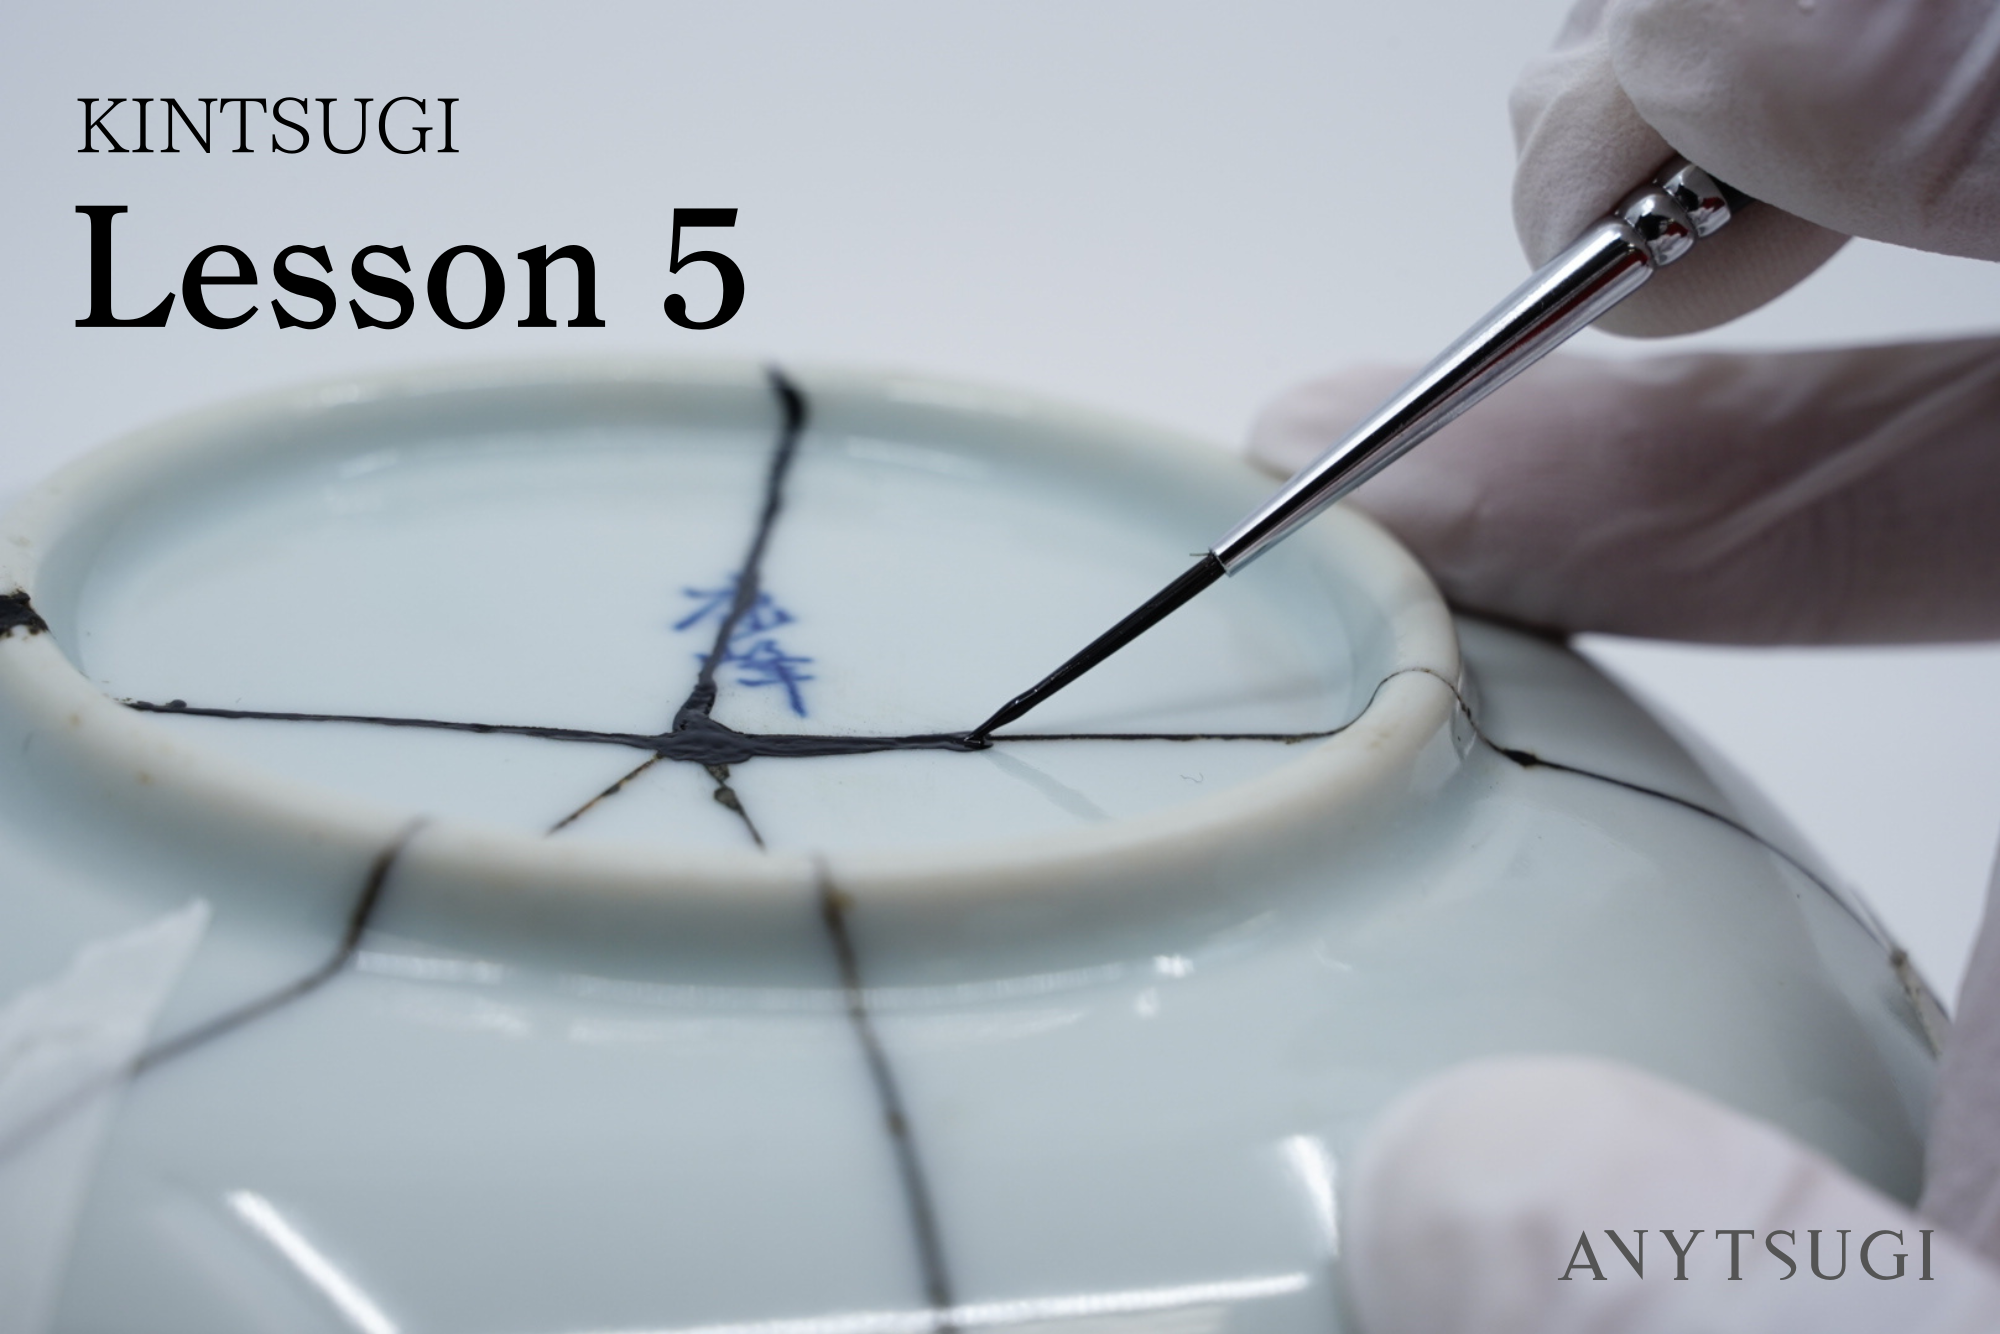
Once the Surface Is Level, Move On to the Intermediate Coat in Part 5
Every step taken with care brings the vessel one step closer to its restored form. Once this stage is complete, it's time to move on to the intermediate coat, where the surface is further refined.
→ Proceed to [Part 5: Intermediate Coat]


![Kintsugi Arita Ware Plate with Peony and Quail Motif – Matte Gold Powder Finish [Free Shipping]](http://anytsugi.com/cdn/shop/files/kintsugi-finished_1.jpg?v=1773053961&width=1500)
![Kintsugi Arita Ware Plate with Peony and Quail Motif – Matte Gold Powder Finish [Free Shipping]](http://anytsugi.com/cdn/shop/files/kintsugi-finished_2.jpg?v=1773054067&width=1500)
![Kintsugi Gien Plate "Mode de Paris" - Matte Gold Powder Finish [Free Shipping]](http://anytsugi.com/cdn/shop/files/kintsugi-finished_8.jpg?v=1773053961&width=1500)
![Kintsugi Gien Plate "Mode de Paris" - Matte Gold Powder Finish [Free Shipping]](http://anytsugi.com/cdn/shop/files/kintsugi-finished_9.jpg?v=1773053961&width=1500)
![Kintsugi Arabia "Emilia" Plate - Matte Gold Powder Finish [Free Shipping]](http://anytsugi.com/cdn/shop/files/kintsugi-finished_16.jpg?v=1773053961&width=1500)
![Kintsugi Arabia "Emilia" Plate - Matte Gold Powder Finish [Free Shipping]](http://anytsugi.com/cdn/shop/files/kintsugi-finished_17.jpg?v=1773053961&width=1500)
Leave a comment
This site is protected by hCaptcha and the hCaptcha Privacy Policy and Terms of Service apply.