

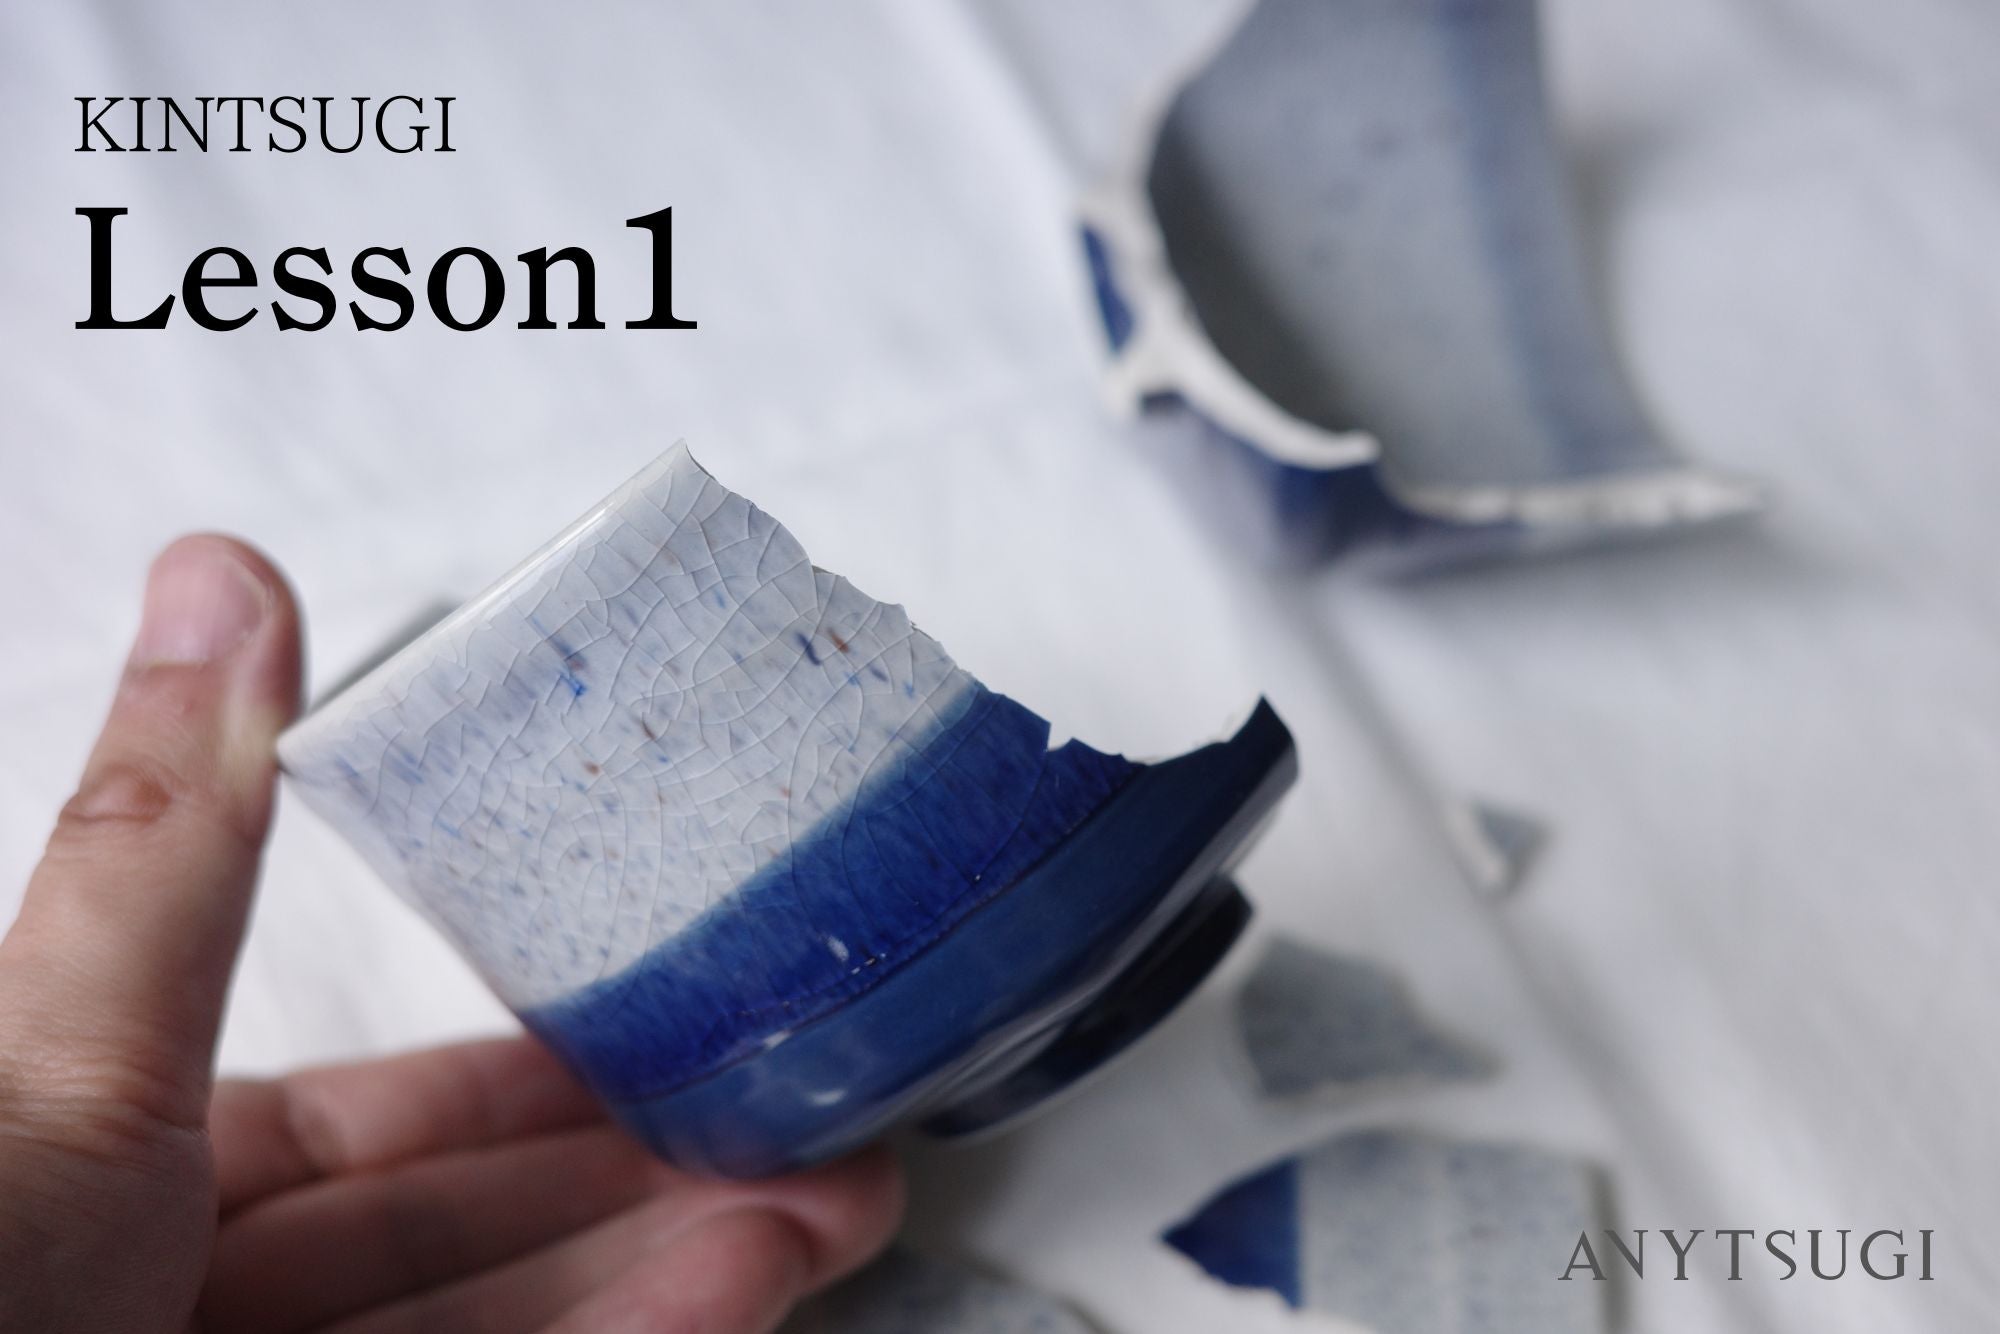
This is the second installment in "ANYTSUGI Kintsugi Workshop," a six-part series on how to do Kintsugi. In this installment, we cover how to repair cracks.
Repairing a crack is one of the simpler procedures in the entire Kintsugi process. By allowing raw urushi to soak into the crack and cure, you can reinforce the surface and stop water from seeping through. This article walks through the process step by step — from applying raw urushi to checking for leaks after curing.
If you haven't gathered your tools and materials yet, please read [Part 1: Preparing to Start Kintsugi] first.
Do Cracks Need to Be Repaired?
The short answer is: repairing a crack is not strictly necessary. If a small crack doesn't affect everyday use of the vessel, it's perfectly fine to leave it alone.
That said, there are cases where repair is recommended:
-
Water seeps through when the vessel is filled
-
The crack is long and feels as though it might break under pressure
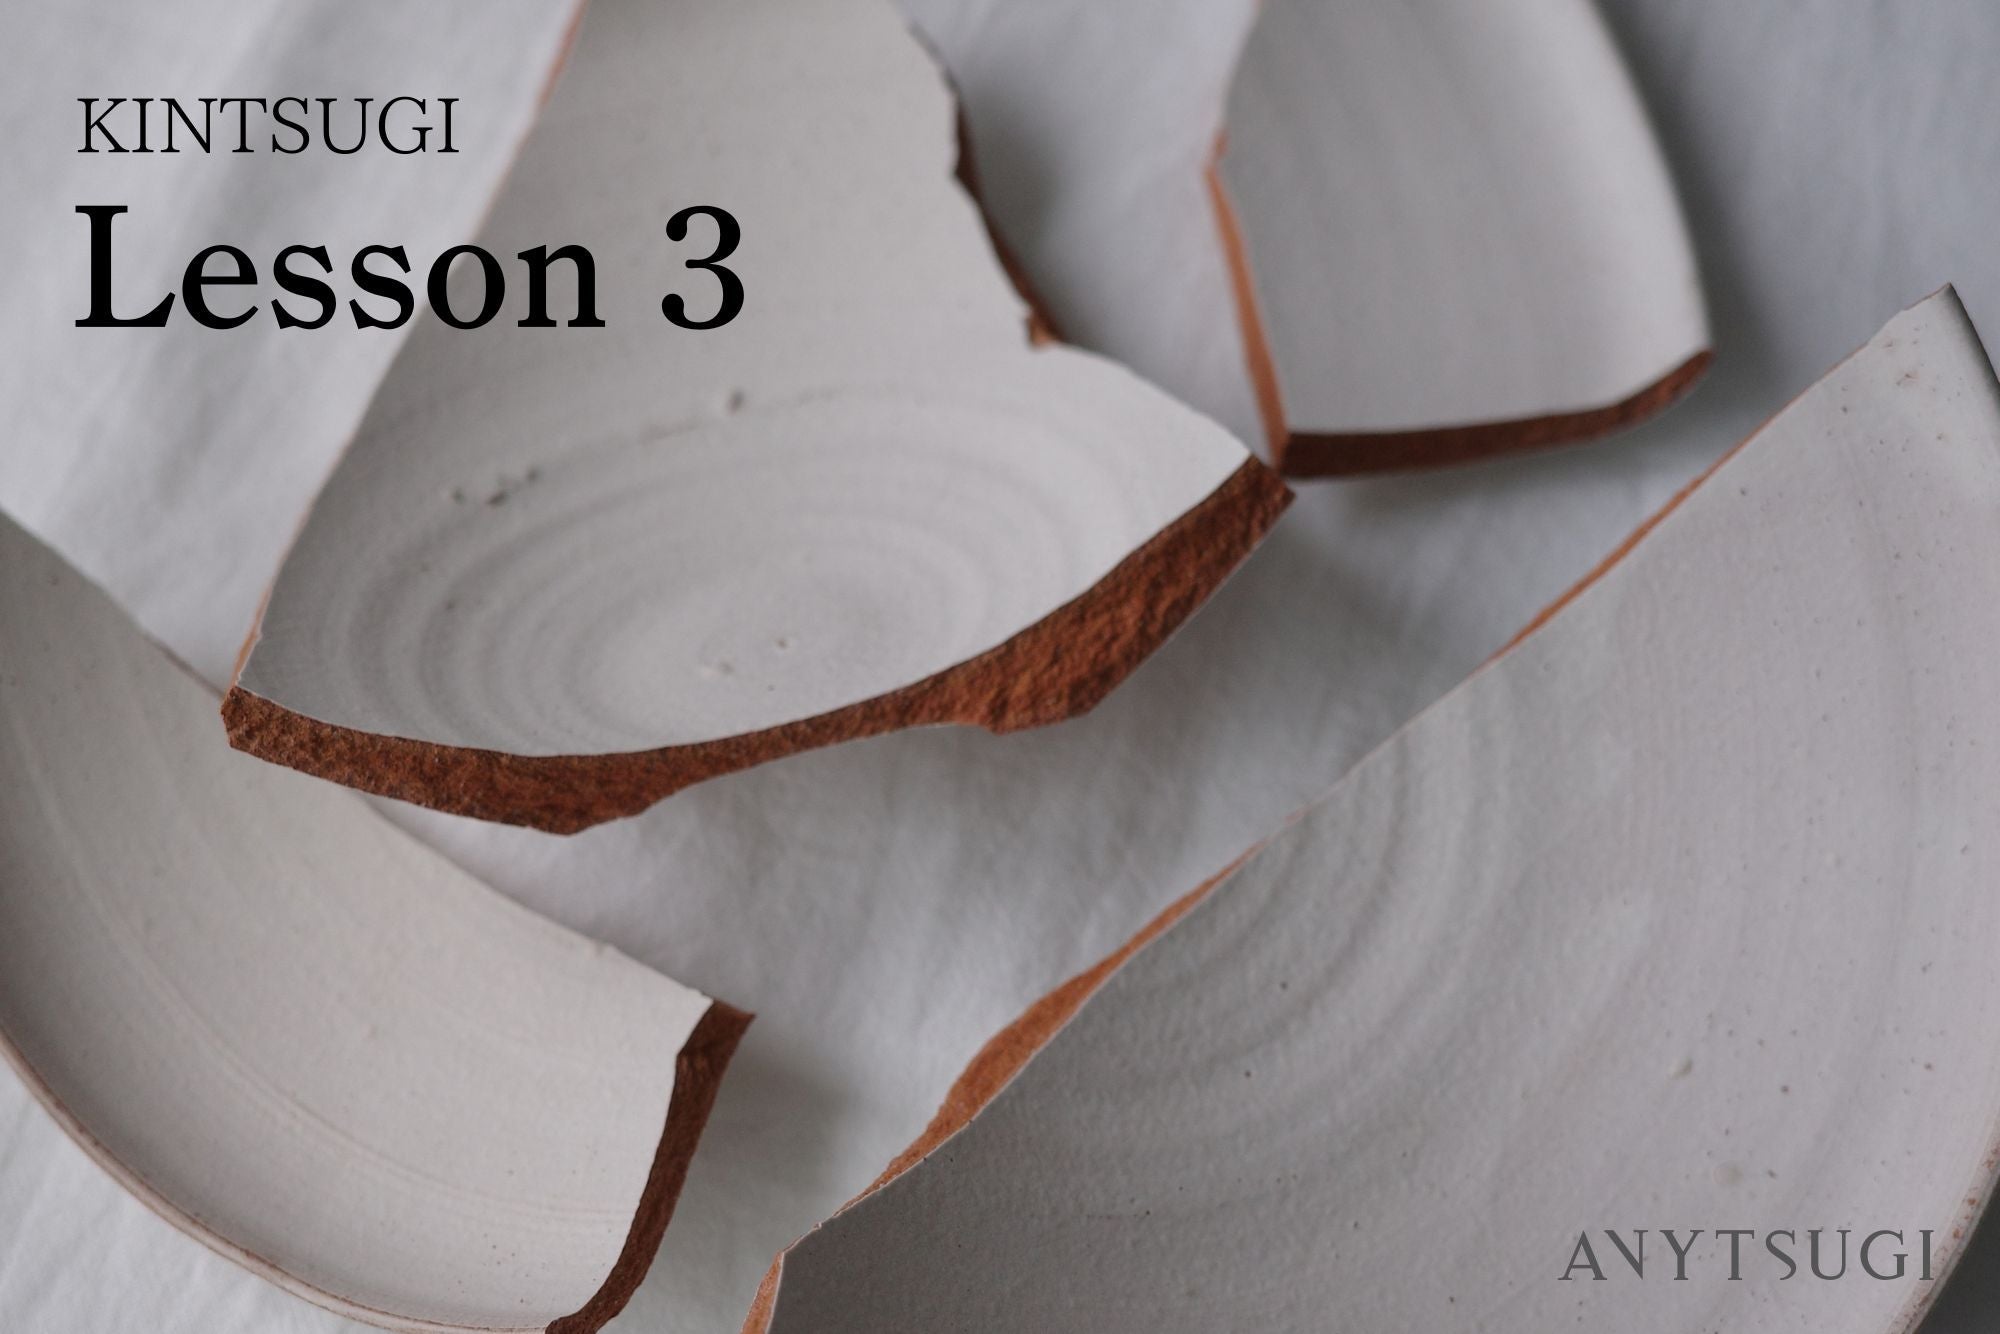
If a deep crack feels like it might give way under pressure, go ahead and break it intentionally. This allows it to be repaired properly as a Break, resulting in a cleaner finish overall. Break repair is covered in Part 3.
When breaking the vessel, wrap it in cloth or paper and take care not to cut yourself. For cracks that are unlikely to break, or shallow surface cracks, follow the steps below.
Step 1: Apply Raw Urushi to the Crack
To repair a crack, we use a method of directly saturating the crack with raw urushi. As it cures, raw urushi acts like an adhesive, reinforcing the crack from the inside.
Tools and materials needed: Raw urushi, brush, palette, ethanol, tissue paper
※ Since urushi is being used, always wear nitrile gloves during work.
Step 1: Place a small amount of raw urushi on the palette

Only a very small amount of raw urushi is needed for crack repair — even the amount shown in the photo is on the generous side.
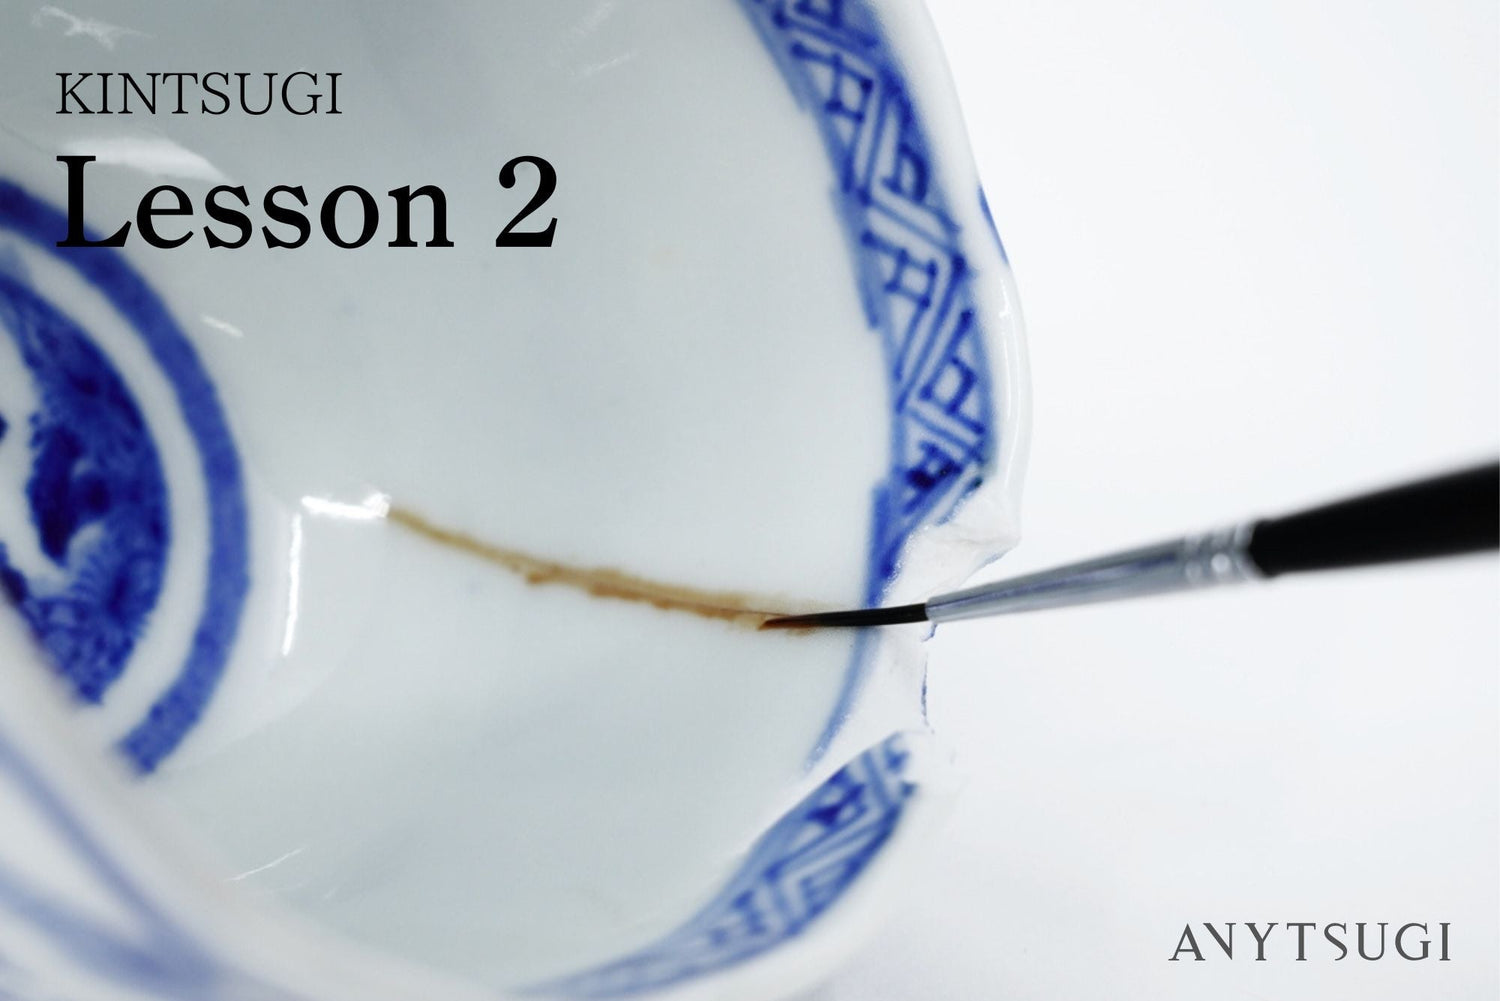
Step 2: Apply raw urushi to both sides of the crack using a brush

Load a brush with raw urushi and work it into the crack.
I typically apply from the inside first. Starting from the outside risks getting raw urushi on your hands when you pick up the vessel to apply it to the inside.

Once the raw urushi has soaked in, a brown line will appear along the crack.
If the crack only appears on one side (meaning it doesn't go all the way through), applying raw urushi from that side alone is sufficient.
Step 3: Apply gentle pressure to open the crack and work the raw urushi deeper into the groove

To allow raw urushi to reach deep into the crack, apply pressure from both sides to gently open it. Apply firm pressure — just short of breaking the vessel.
If the crack remains closed, the urushi won't penetrate deeply enough, so open it slightly to allow proper saturation.
Step 4: Let it sit for 15–30 minutes, then wipe away any excess raw urushi from the surface with ethanol


Step 5: Place in the urushi bath and allow to cure for approximately one week

An urushi bath is a simple humidity chamber made from a cardboard box (or container) and a damp towel.
Setup is straightforward: find a cardboard box or plastic container large enough to comfortably fit the vessel, then place a well-wrung damp towel inside. If using a cardboard box, line the bottom with a plastic bag or similar material to protect against moisture.
After repairing the crack, place the vessel in the urushi bath and allow it to cure for approximately one week.
Urushi cures best at a temperature of 20–25°C (68–77°F) and humidity of around 65–80%. In Japanese winters, temperatures can drop too low, so store the vessel somewhere warm when possible.
Step 2: Check for Water Leaks
Once the urushi has cured in the urushi bath, check for leaks. Fill the vessel with water and check whether any moisture seeps through the area where the crack was.
-
If there is no seepage, you're good to go. Move on to the next step.
-
If seepage occurs, apply raw urushi to the crack again and cure in the urushi bath.
Step 3: Clean Up Your Tools
Here's how to clean the tools you've used.
Cleaning the Brush


1. Pour some oil onto the palette and work it thoroughly through the brush.
2. Wipe the oil away with a tissue.
3. Repeat steps 1–2 until no more urushi color transfers.
4. Apply a small amount of clean oil, cap the brush, and store.
Cleaning the Palette

2. Finish by wiping with an ethanol-dampened tissue.
What Comes Next After Repairing Cracks: With or Without Breaks and Chips
Once crack repair is complete, move on to the next stage.
|
Situation |
Next Article to Read |
|---|---|
|
No Breaks or Chips |
Part 5: Intermediate Coat |
|
Has Breaks or Chips |
If the vessel has both Breaks and Chips, address the Breaks first.
The next installment of the Kintsugi Workshop will cover bonding a Break in detail. It involves more steps than crack repair, but it's one of the most rewarding parts of the process.
Getting the mugi-urushi (wheat urushi adhesive) mix right is the key — we'll walk through it carefully in the next installment!


![Kintsugi Arita Ware Plate with Peony and Quail Motif – Matte Gold Powder Finish [Free Shipping]](http://anytsugi.com/cdn/shop/files/kintsugi-finished_1.jpg?v=1773053961&width=1500)
![Kintsugi Arita Ware Plate with Peony and Quail Motif – Matte Gold Powder Finish [Free Shipping]](http://anytsugi.com/cdn/shop/files/kintsugi-finished_2.jpg?v=1773054067&width=1500)
![Kintsugi Gien Plate "Mode de Paris" - Matte Gold Powder Finish [Free Shipping]](http://anytsugi.com/cdn/shop/files/kintsugi-finished_8.jpg?v=1773053961&width=1500)
![Kintsugi Gien Plate "Mode de Paris" - Matte Gold Powder Finish [Free Shipping]](http://anytsugi.com/cdn/shop/files/kintsugi-finished_9.jpg?v=1773053961&width=1500)
![Kintsugi Arabia "Emilia" Plate - Matte Gold Powder Finish [Free Shipping]](http://anytsugi.com/cdn/shop/files/kintsugi-finished_16.jpg?v=1773053961&width=1500)
![Kintsugi Arabia "Emilia" Plate - Matte Gold Powder Finish [Free Shipping]](http://anytsugi.com/cdn/shop/files/kintsugi-finished_17.jpg?v=1773053961&width=1500)
Leave a comment
This site is protected by hCaptcha and the hCaptcha Privacy Policy and Terms of Service apply.