

Kintsugi is a traditional Japanese restoration technique that uses urushi and gold powder to repair broken or chipped vessels. Rather than hiding the damage, it transforms the gold lines into part of the vessel itself, giving it a new kind of beauty. This philosophy is now drawing widespread attention both in Japan and abroad.

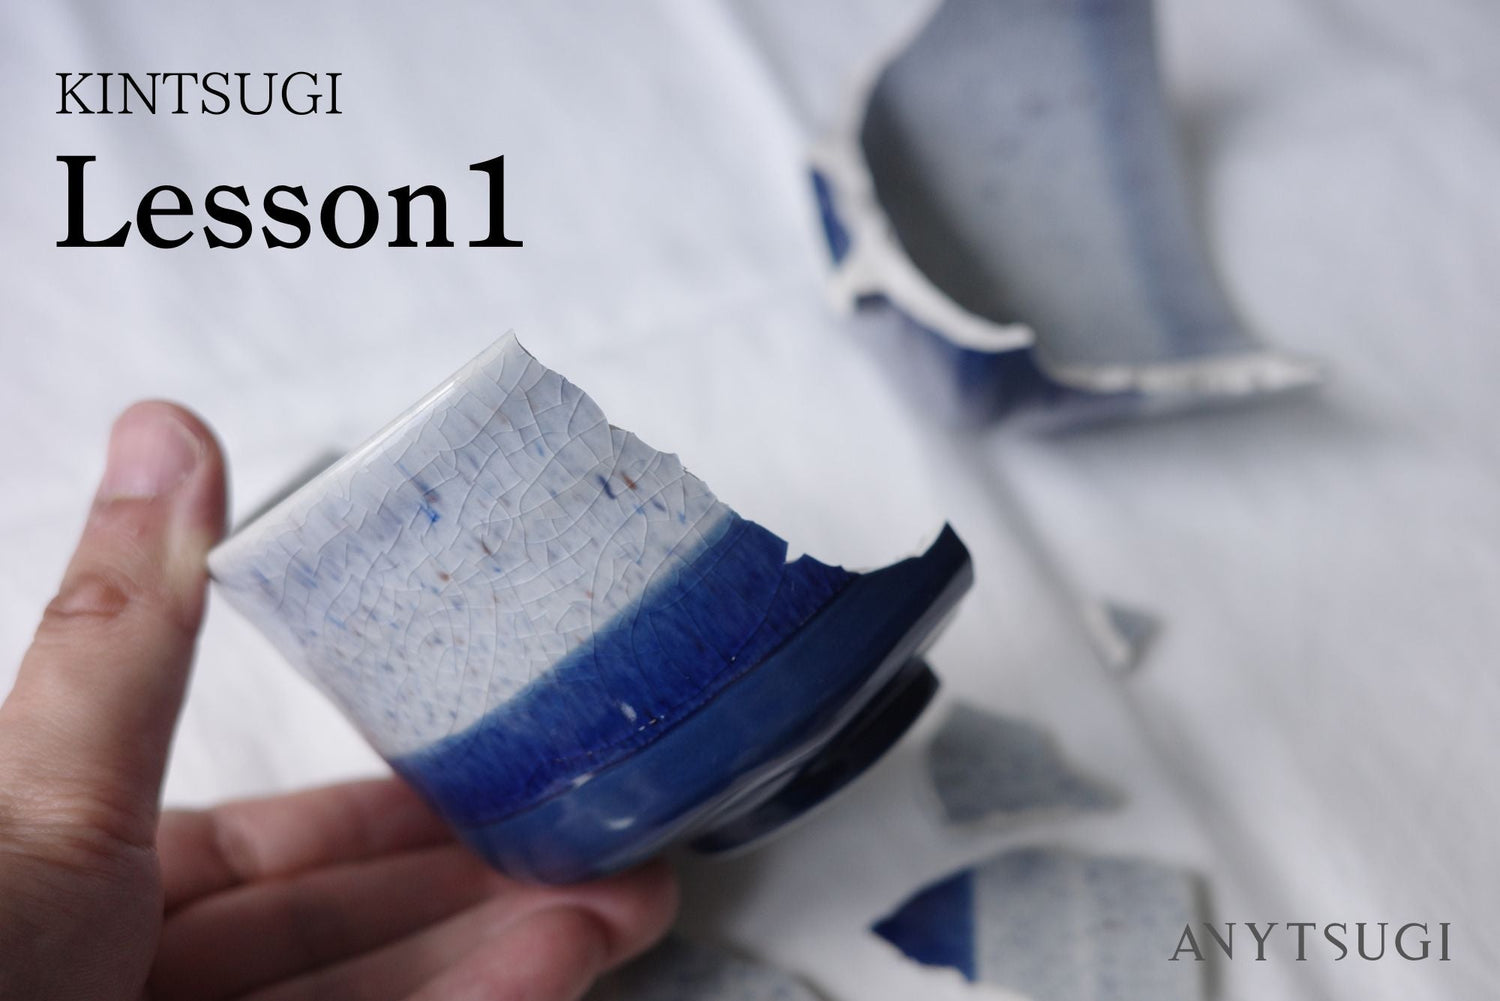
This series breaks down the process of traditional kintsugi (with natural urushi) for beginners across six installments. In this first installment, we cover the preparation phase before you begin any hands-on work. We answer questions like: "Can my vessel be repaired?", "What do I need to gather?", "How many months will it take?", and "Will urushi give me a rash?"
Many people assume Kintsugi is a highly skilled craft, but with the right tools and steps, anyone can complete the process at home — even a first-timer. What matters most is not dexterity, but the patience to work through it steadily.
Check #1: Is My Vessel Suitable for Kintsugi?

If you have a vessel you'd like to repair with Kintsugi, start by checking its material and condition.
Most common tableware — ceramics, porcelain, and similar materials — can be repaired. However, the following materials are difficult for beginners to repair with Kintsugi:
-
Glass
-
Plastic / resin
Glass and plastic have extremely smooth surfaces, which makes it difficult for urushi to adhere properly. Since this article is aimed at beginners, we focus on standard tableware (ceramics and porcelain). We hope to cover other materials in a future article.
Check #2: What Is the Damage? Can Kintsugi Fix It?

Kintsugi is not limited to repairing simple breaks. Even chips — where pieces are missing entirely — can be repaired by mixing urushi with powder materials to create a putty-like filler.
The more chips there are, the longer the repair will take — but no matter how shattered a vessel may be, Kintsugi can restore it if you take the time!
|
Type of Damage |
Description |
|---|---|
|
Break |
The vessel has split into two or more pieces |
|
Chip |
A section of the rim or surface has broken off |
|
Crack |
The vessel is intact but has surface cracks |
The most common type of damage is a Break. "It fell off the table" or "I noticed it had split in two" — this accounts for the overwhelming majority of cases. Chips and cracks on their own are relatively uncommon.
If you have a combination of damage types, we'll guide you on where to start at the end of this article.
Tools and Materials Needed for Kintsugi
Below is a complete list of all the materials and tools used in traditional kintsugi (with natural urushi), covering the entire process.
▼ Items to purchase
- Raw urushi
- Gold powder
- Wood powder
- Tonoko powder
- Black powder
- Bengala powder (red ochre pigment)
- Brush
- Bamboo spatula
- Rubber spatula
- Palette
- Spoon
- Dropper
- Wet sandpaper
- Floss silk
- Design knife / craft knife
- Diamond file
- Nitrile gloves
- Masking tape
▼ Items you may already have at home
- All-purpose flour
- Ethanol
- Cooking oil
- Tissue paper
- Cardboard box or plastic container
Raw Urushi

Raw urushi is the sap of the urushi tree, and it is the core material of Kintsugi — used in nearly every stage, from bonding breaks to reinforcing cracks and repairing chips.

As mentioned later, contact with raw urushi before it has cured can cause urushiol dermatitis. Tube-style raw urushi is easy to find and convenient to use.
Gold Powder (Silver Powder / Platinum Powder)

Gold powder is used in the finishing stage to create the signature gold lines. Just as gold leaf is safe for consumption, gold is a metal that is harmless to the human body — so repairing tableware with high-purity gold powder makes it safe to use for food.
Brass powder is sometimes used as a substitute, but it's worth noting that brass is an alloy of copper and zinc — not gold — and its food safety is not guaranteed.
Wood Powder and Tonoko Powder

Wood powder is exactly what the name suggests — finely ground wood. Tonoko powder is finely ground stone.
Mixed with raw urushi, they create kokuso-urushi (urushi putty), which is used to fill chips. Mixing tonoko powder alone with raw urushi produces sabi-urushi (urushi filler), used to level out small surface irregularities.

Black Powder and Bengala Powder

Black powder and bengala powder (red ochre pigment) can be mixed with raw urushi to create colored urushi, such as black urushi (kuro-roiro-urushi) or bengala-urushi.

Brush

Bamboo Spatula

Rubber Spatula and Palette

A rubber spatula is used to mix urushi with powder materials.
A palette is used to blend urushi with other ingredients. Acrylic and glass palettes are both common options. Personally, I find glass easier to clean, but since glass palettes are more expensive, an affordable acrylic palette is perfectly fine for beginners.
Spoon and Dropper

A spoon is used to transfer powdered materials onto the palette. A dropper is used to add small amounts of water. Any type will work, but smaller sizes are recommended.
Wet Sandpaper

Floss Silk

Floss silk is used to apply gold powder. By gathering it into a small bundle and pressing it into the gold powder, you can draw beautiful gold lines over the urushi.
Design Knife / Craft Knife

Used to trim and carve cured urushi. A model that allows blade replacement is easier to use on vessels of different shapes. The OLFA Art Knife is a widely available option that's easy to handle and highly recommended.
Diamond File

Used for abrading the surface of the vessel. Tasks that would take a long time with wet sandpaper can be completed much faster with a diamond file.
Nitrile Gloves

Gloves must be worn during work to prevent urushi from coming into contact with your hands. Standard rubber gloves are acceptable, but nitrile gloves with high oil resistance are the better choice.
Masking Tape

Used to hold broken pieces firmly in place during bonding and to protect the vessel's surface from urushi stains.
All-Purpose Flour

All-purpose flour is mixed with urushi to make mugi-urushi (wheat urushi adhesive). Regular all-purpose flour from the supermarket works perfectly fine.
Ethanol

Ethanol is used for cleaning up after work. It comes in several concentrations, but anhydrous ethanol (99.5%) or antiseptic ethanol (95.1%–96.9%) is recommended.
Antiseptic ethanol (76.9%–81.4%) can also be used as a substitute, but the higher the concentration, the more effectively it removes urushi.
Cooking Oil
Any cooking oil you have at home — such as salad oil, canola oil, or rapeseed oil — will work. Oil is used to remove urushi from skin and to clean tools.
Tissue Paper
Used for cleaning tools.
Cardboard Box or Plastic Container
Urushi cures best at a temperature of 20–25°C (68–77°F) and humidity of around 65–80%. Prepare a cardboard box or plastic container large enough to comfortably fit the vessel being repaired, and place a damp cloth inside to maintain the necessary humidity.
Kintsugi Kits with All the Materials You Need

ANYTSUGI sells all the necessary materials and tools as a complete kit. If gathering everything separately seems daunting, consider purchasing one.
Please note that ethanol, flour, oil, tissue paper, and the cardboard box or plastic container are not included in the kit.
How Long Does Kintsugi Take to Complete?

From start to finish, Kintsugi takes approximately one month.
However, the vast majority of that time is spent waiting. Most of it is waiting for the urushi to cure — the actual hands-on work across all stages amounts to only about five hours in total. Each individual step takes about 20 to 30 minutes, after which the piece goes into the urushi bath for several days to a week. This cycle repeats throughout the process.
Do a bit of work on weekends and leave it to rest during the week — that pace is more than enough. Urushi cannot be rushed. Taking the time to work with it slowly is itself one of the true pleasures of Kintsugi.
Is Urushi Safe? For Those Concerned About Urushiol Dermatitis

It's true that urushi can cause urushiol dermatitis. However, the risk only applies when it is in liquid form.
Liquid Urushi and Cured Urushi Are Completely Different
Liquid urushi can cause urushiol dermatitis when it comes into contact with skin. It also releases trace amounts of vapor, so ventilation is necessary during work.
On the other hand, cured urushi is completely harmless. It has been used on tableware in Japan for hundreds of years — once the urushi has hardened, the vessel can be used daily without concern. The reason Kintsugi-repaired pieces are safe for everyday use is precisely because of this property.
Two Simple Precautions Against Urushiol Dermatitis
-
Wear nitrile gloves
-
Work in a well-ventilated area
Follow these two steps and you can work with confidence, even as a first-timer.
If urushi does get on your skin, gently wipe it off with cooking oil, then wash with soap and lukewarm water. If symptoms of urushiol dermatitis appear (redness, itching, blistering), consult a doctor.
If you have previously experienced an allergic reaction to mango or plants in the Anacardiaceae family, you may be more prone to reactions. Take extra care when working.
Where to Start Based on Your Type of Damage
The repair methods themselves will be covered in subsequent installments. The first step to take depends on the condition of the vessel being repaired. Use the table below to find the right article to move on to.
|
Condition of Vessel |
Next Article to Read |
|---|---|
|
Has a Break |
|
|
Has Chips only |
|
|
Has Cracks |
|
|
Has both Breaks and Chips |
If you're not sure which type of damage applies to your vessel, in most cases a Break is the primary issue. When in doubt, start with Installment 3.


![Kintsugi Arita Ware Plate with Peony and Quail Motif – Matte Gold Powder Finish [Free Shipping]](http://anytsugi.com/cdn/shop/files/kintsugi-finished_1.jpg?v=1773053961&width=1500)
![Kintsugi Arita Ware Plate with Peony and Quail Motif – Matte Gold Powder Finish [Free Shipping]](http://anytsugi.com/cdn/shop/files/kintsugi-finished_2.jpg?v=1773054067&width=1500)
![Kintsugi Gien Plate "Mode de Paris" - Matte Gold Powder Finish [Free Shipping]](http://anytsugi.com/cdn/shop/files/kintsugi-finished_8.jpg?v=1773053961&width=1500)
![Kintsugi Gien Plate "Mode de Paris" - Matte Gold Powder Finish [Free Shipping]](http://anytsugi.com/cdn/shop/files/kintsugi-finished_9.jpg?v=1773053961&width=1500)
![Kintsugi Arabia "Emilia" Plate - Matte Gold Powder Finish [Free Shipping]](http://anytsugi.com/cdn/shop/files/kintsugi-finished_16.jpg?v=1773053961&width=1500)
![Kintsugi Arabia "Emilia" Plate - Matte Gold Powder Finish [Free Shipping]](http://anytsugi.com/cdn/shop/files/kintsugi-finished_17.jpg?v=1773053961&width=1500)
Leave a comment
This site is protected by hCaptcha and the hCaptcha Privacy Policy and Terms of Service apply.