
KINTSUGI


Kintsugi is a traditional Japanese technique for repairing broken ceramics using urushi and gold. It may look like the work of a skilled craftsman, but by following the right steps, you can practice it at home. Our free six-session course walks beginners through everything from preparing the tools to the finishing touches.
Find Your Lesson
Browse by Condition
Fine cracks or hairline fractures. Even when water is leaking, they can be repaired by allowing raw urushi to penetrate.

ヒビ
Crack
Fine cracks or hairline fractures. Even when water is leaking, they can be repaired by allowing raw urushi to penetrate.

ワレ
Break
The ceramic has broken into multiple pieces. Through the bonding process using mugi-urushi, the pieces are brought back together with beautiful golden seams.

カケ
Chip
The rim or base has chipped away. Kokuso-urushi and sabi-urushi are used to fill in the missing area, aiming for a finish close to the original shape.
Full Course
All 6 Lessons: Course Overview
By working through each lesson in order, from preparation to completion, even first-time learners can complete a kintsugi repair.

LESSON 01
Preparing to Start Kintsugi
Everything you should read before getting started: tools, materials, how to protect against urushi rash, and how to identify the type of damage.
Read →
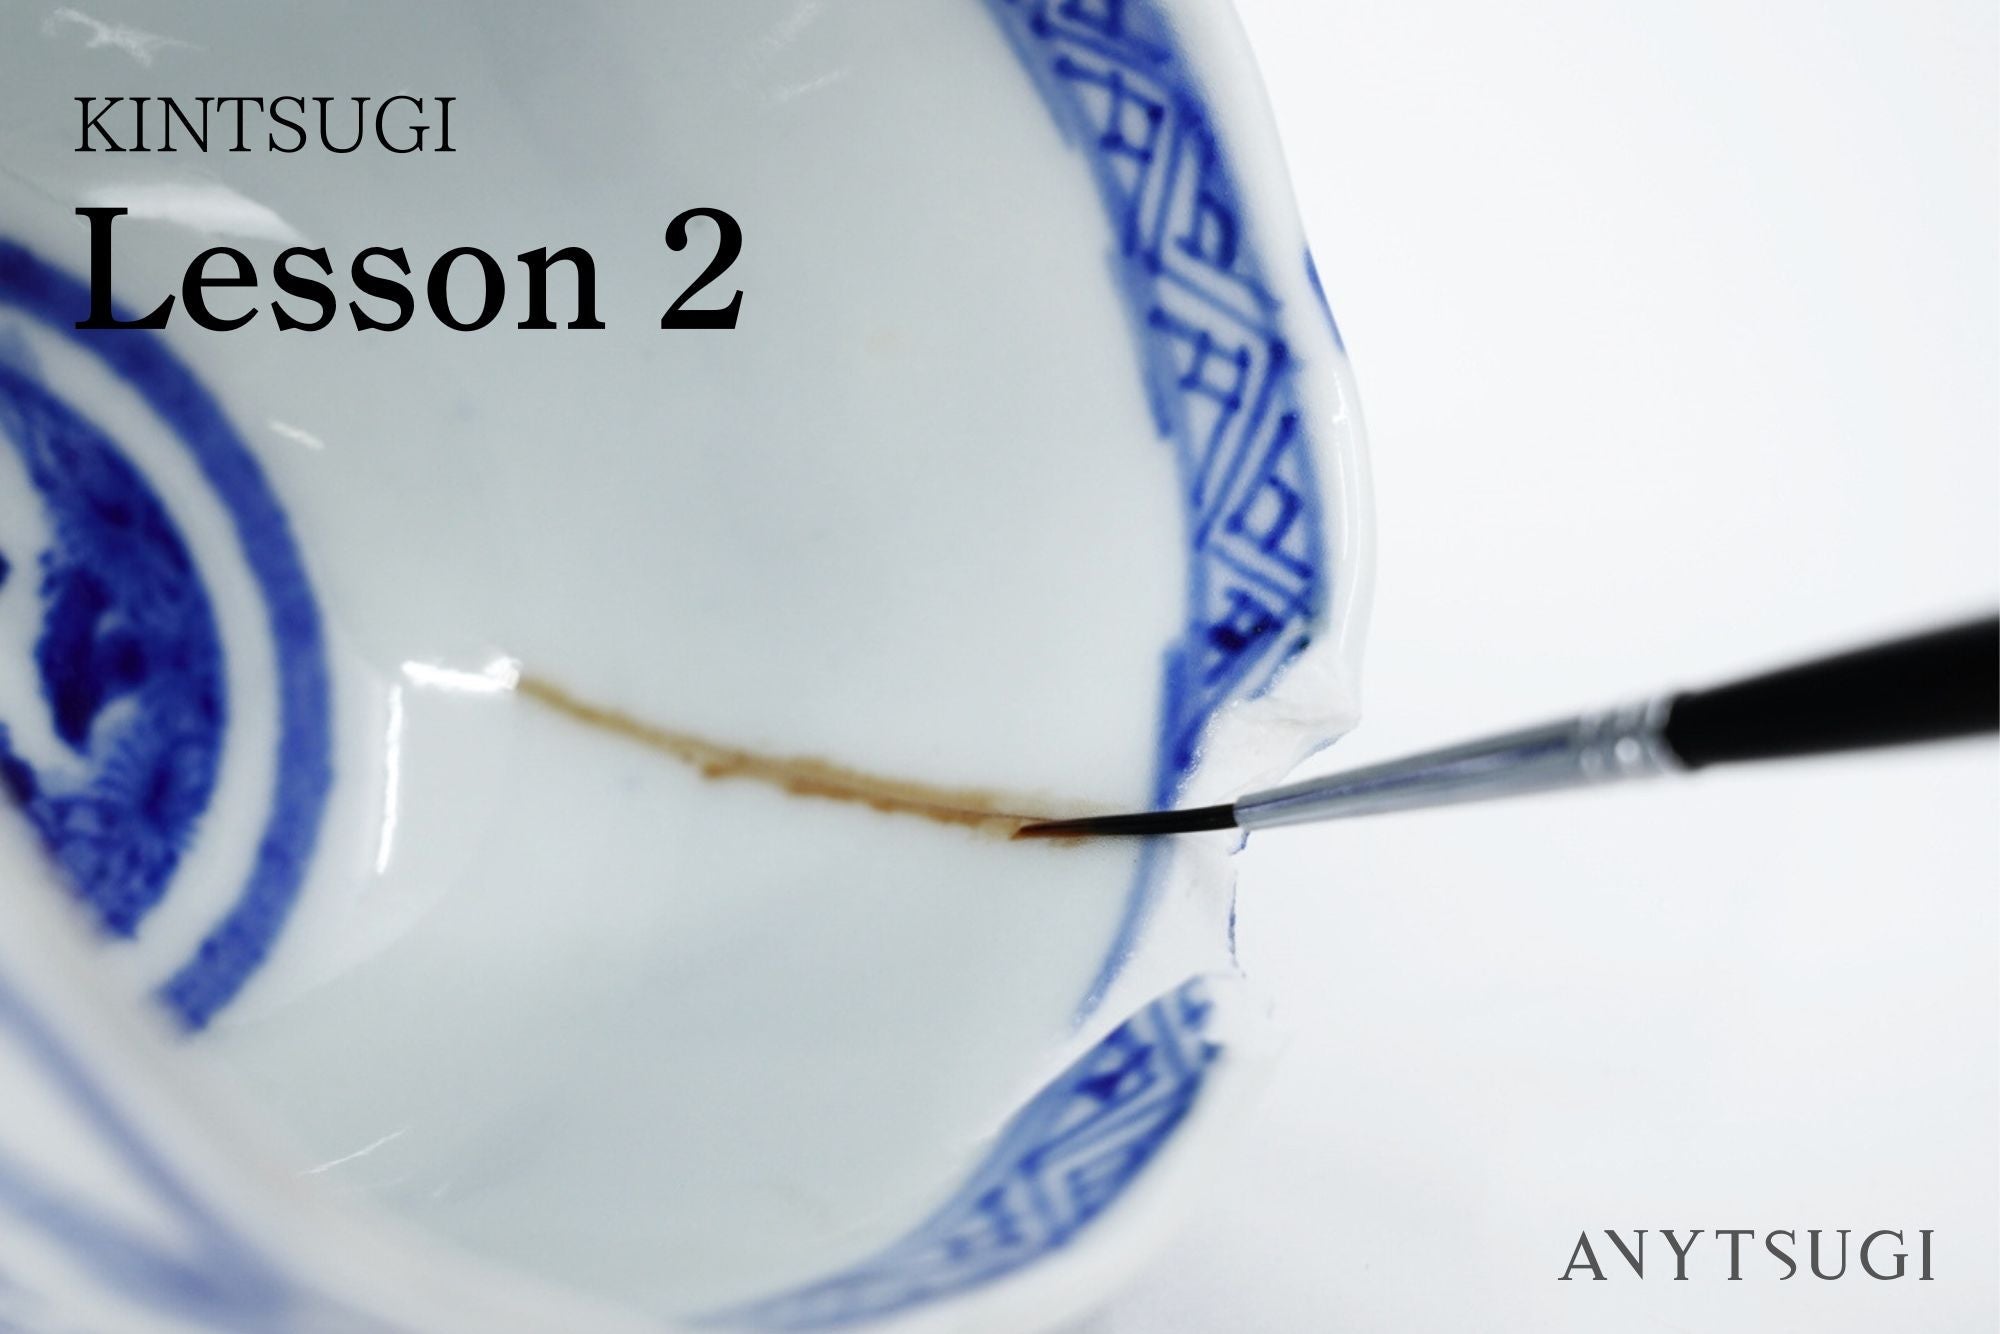
LESSON 02
Repairing Cracks
A 5-step guide to stopping water leaks by allowing raw urushi to penetrate into the crack.
Read →
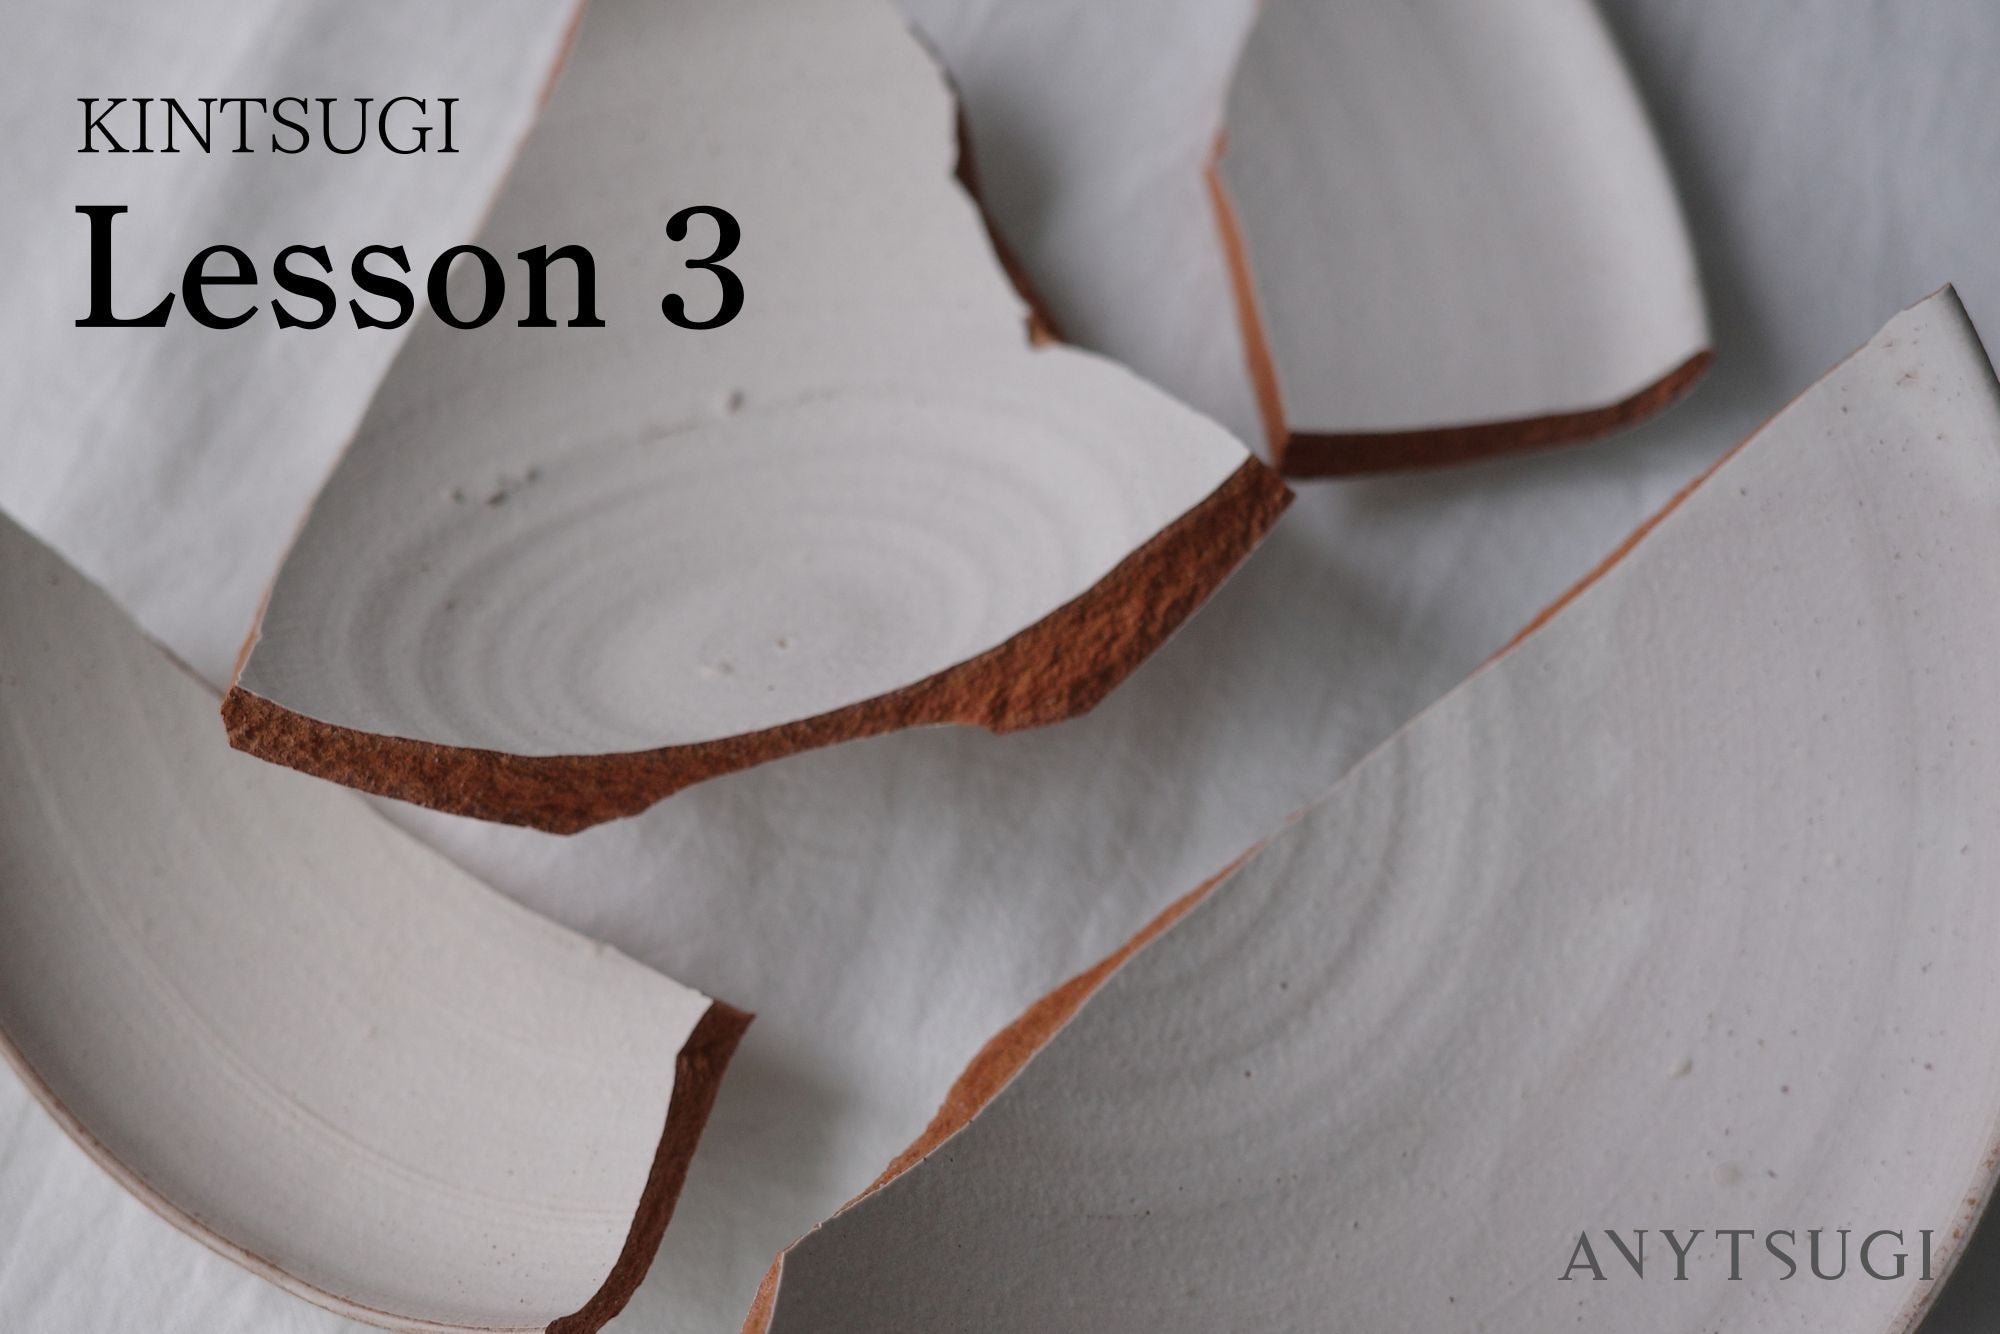
LESSON 03
Bonding a Break
How to make mugi-urushi and tips for bonding broken pieces beautifully. Also covers important notes specific to pottery and porcelain.
Read →
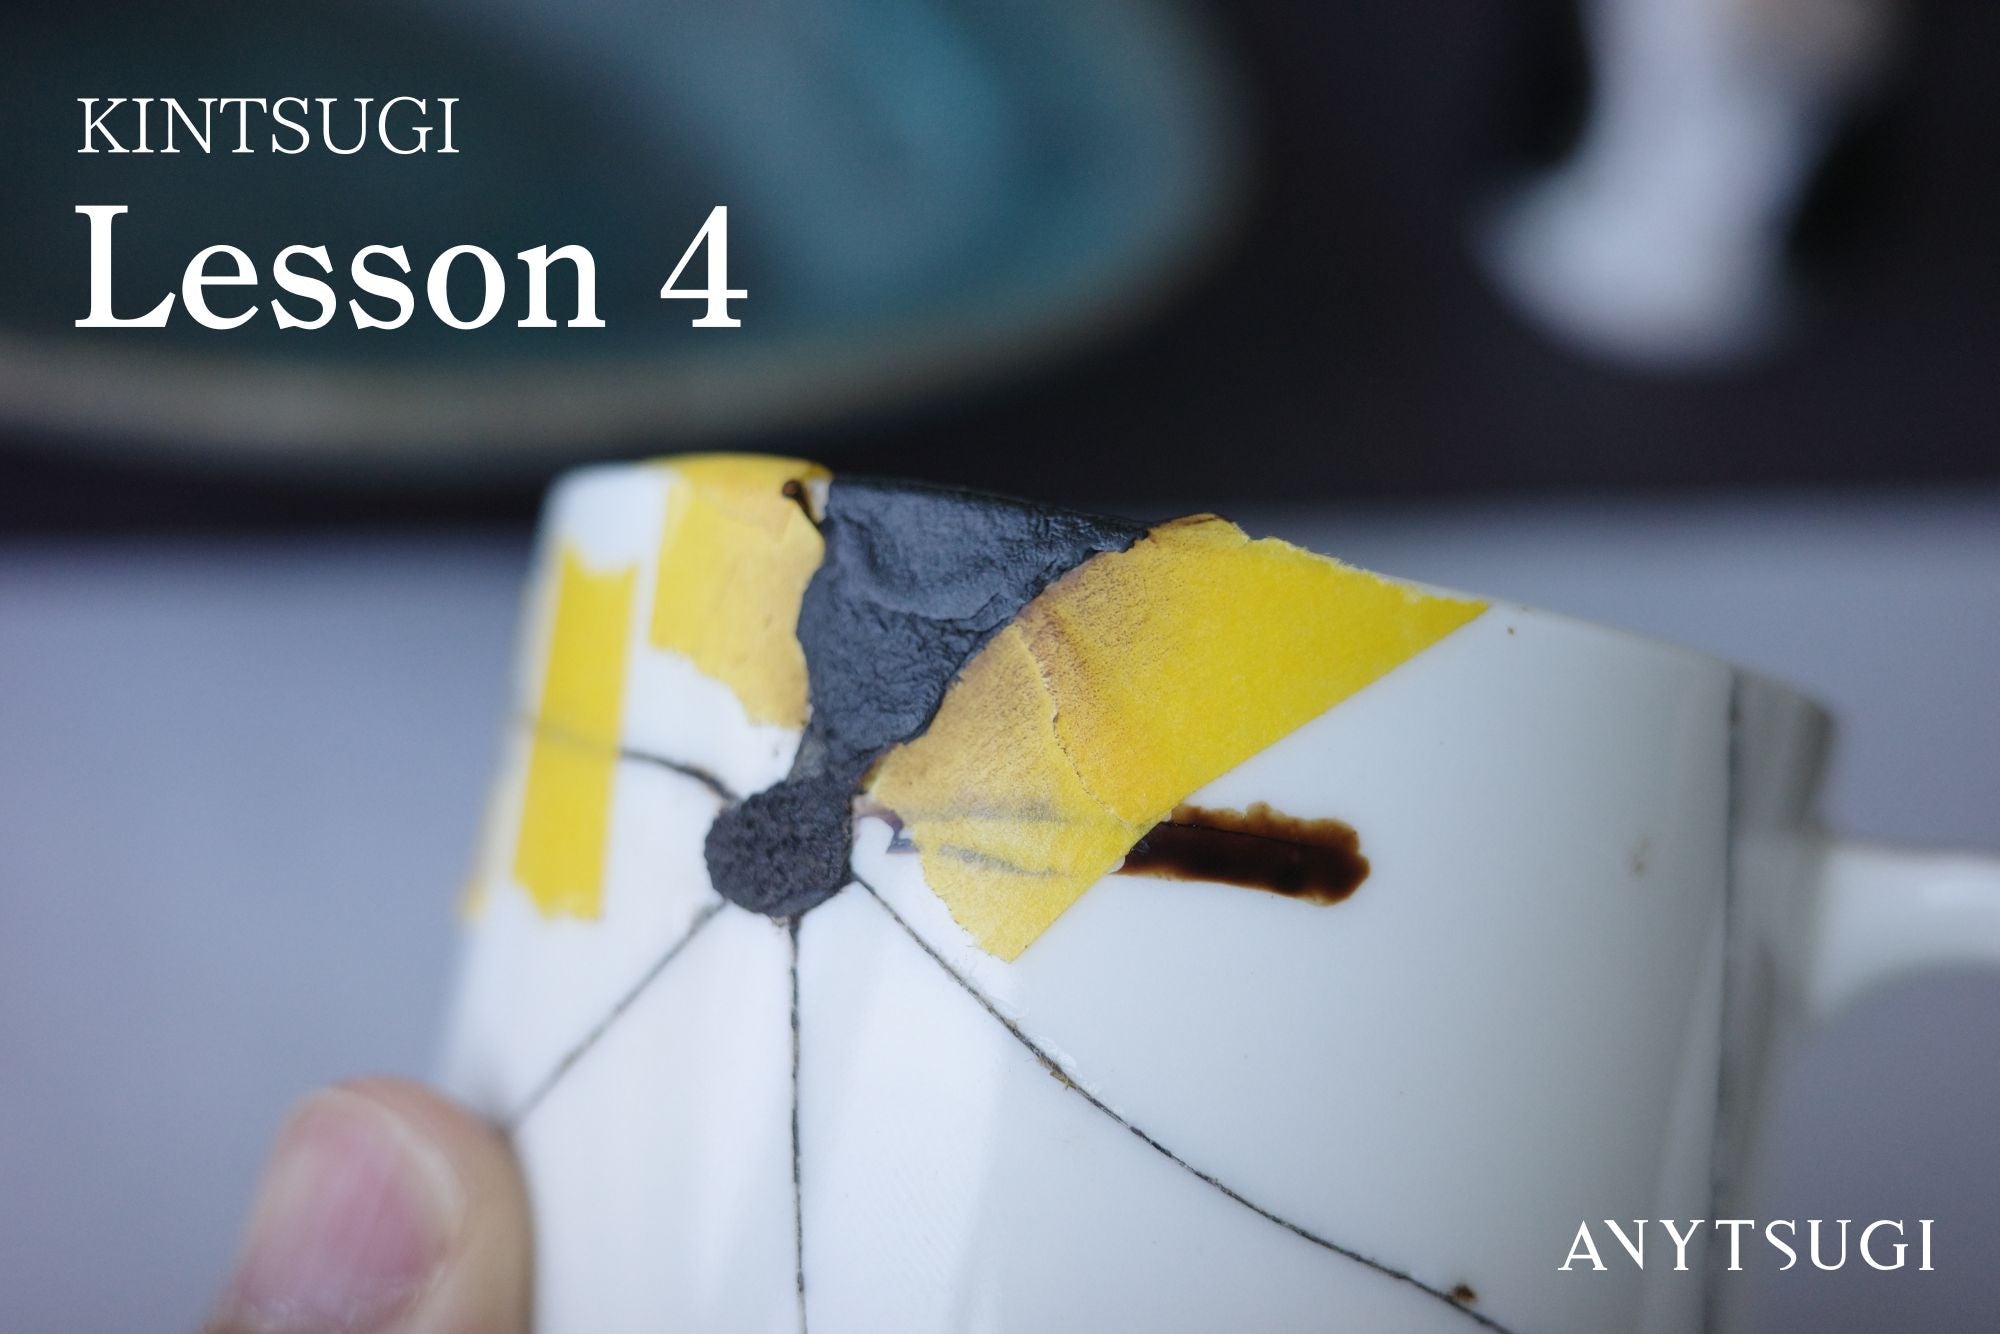
LESSON 04
Filling a Chip
Choosing between kokuso-urushi and sabi-urushi based on the depth of the chip. A step-by-step guide to carefully filling in the missing area.
Read →
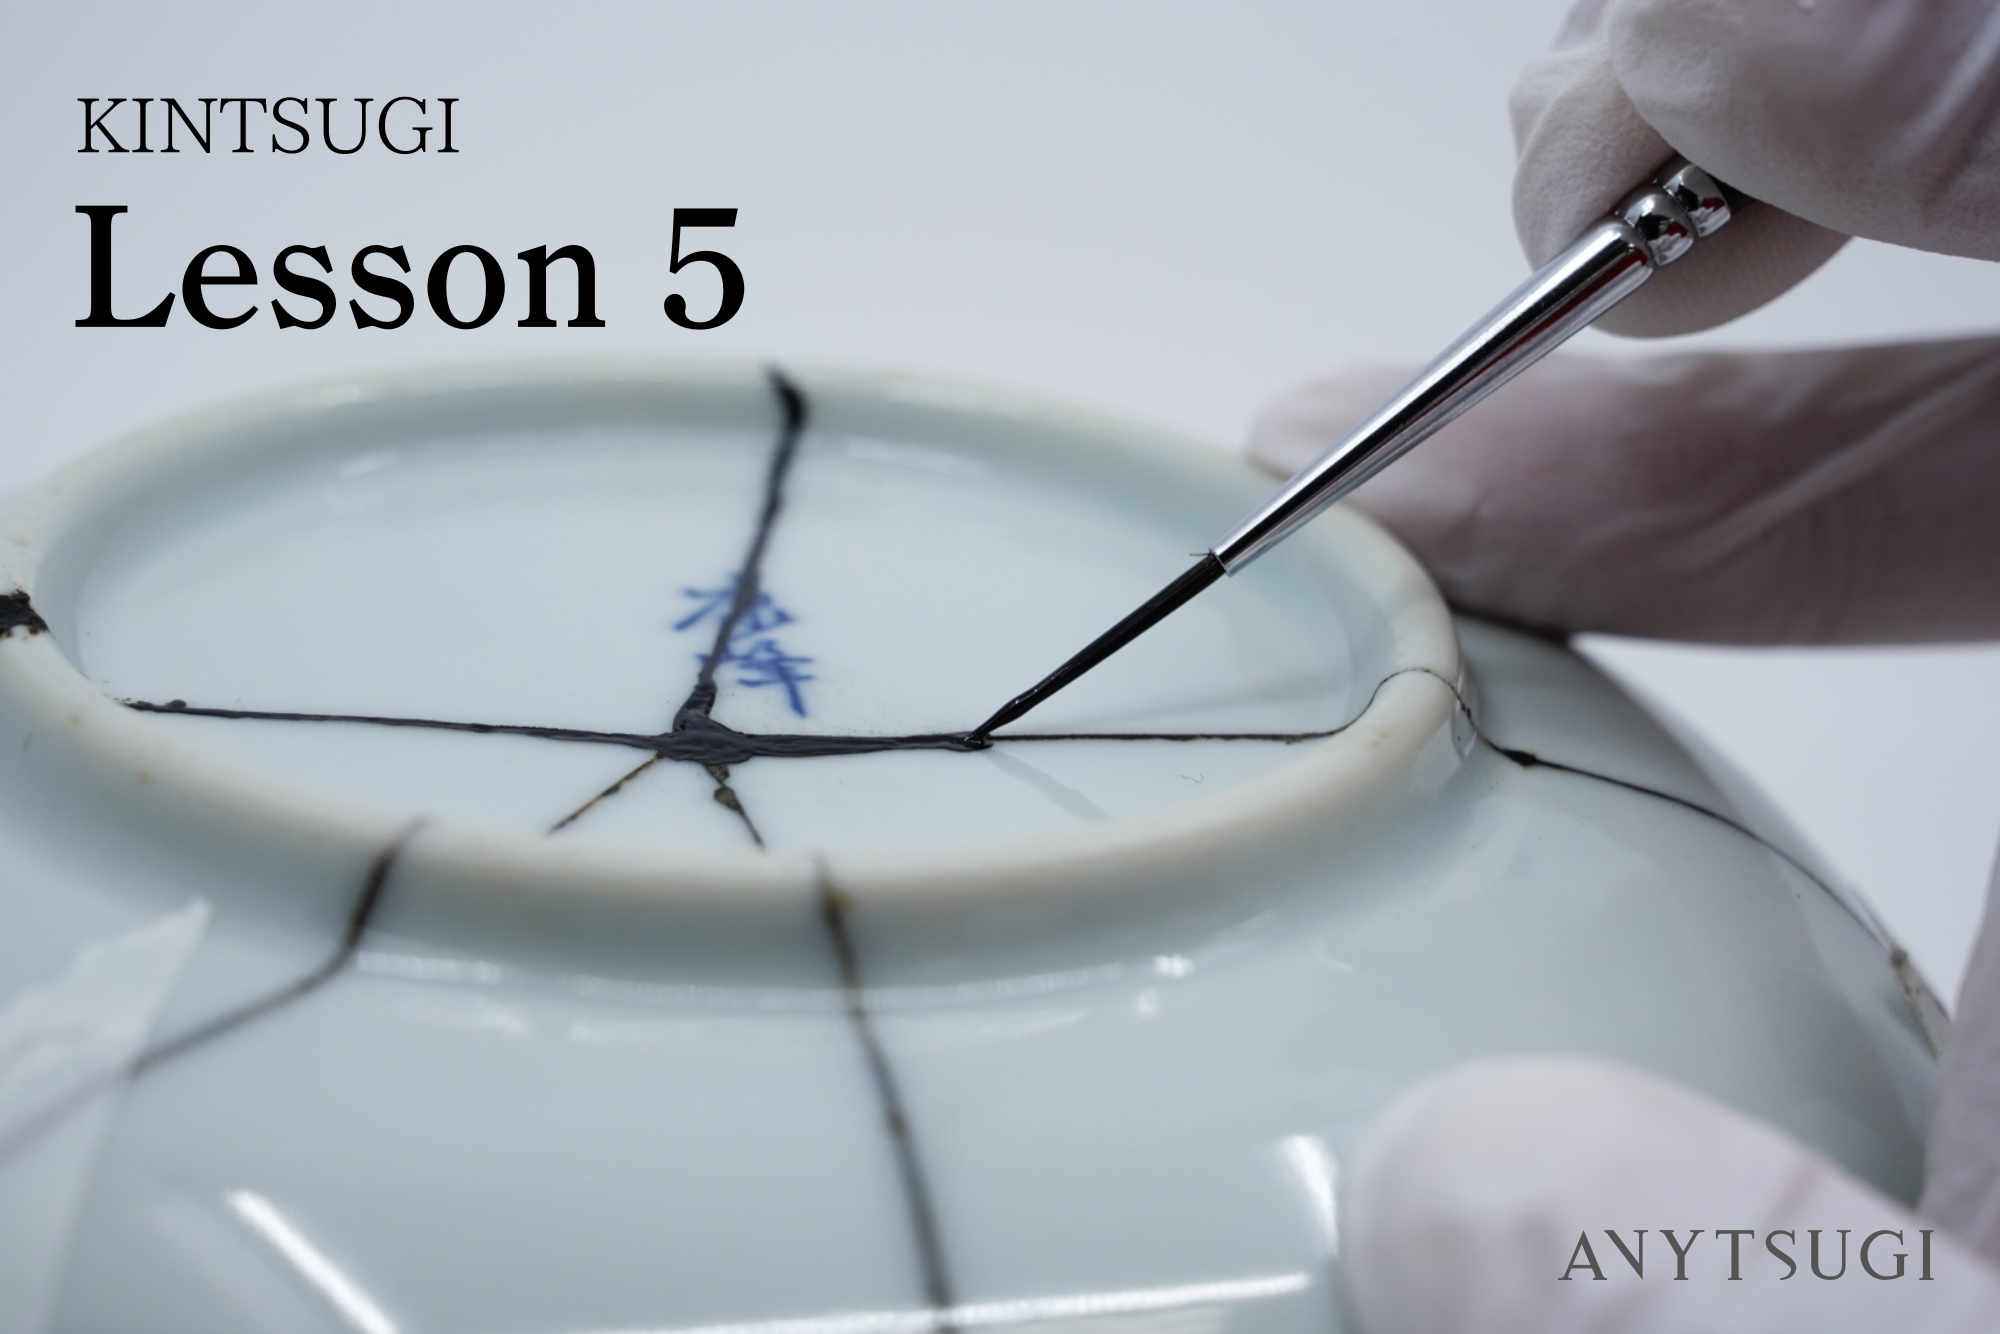
LESSON 05
Intermediate Coat
Building a base coat with black urushi so that gold powder adheres evenly. Wet sanding and brush technique are key.
Read →
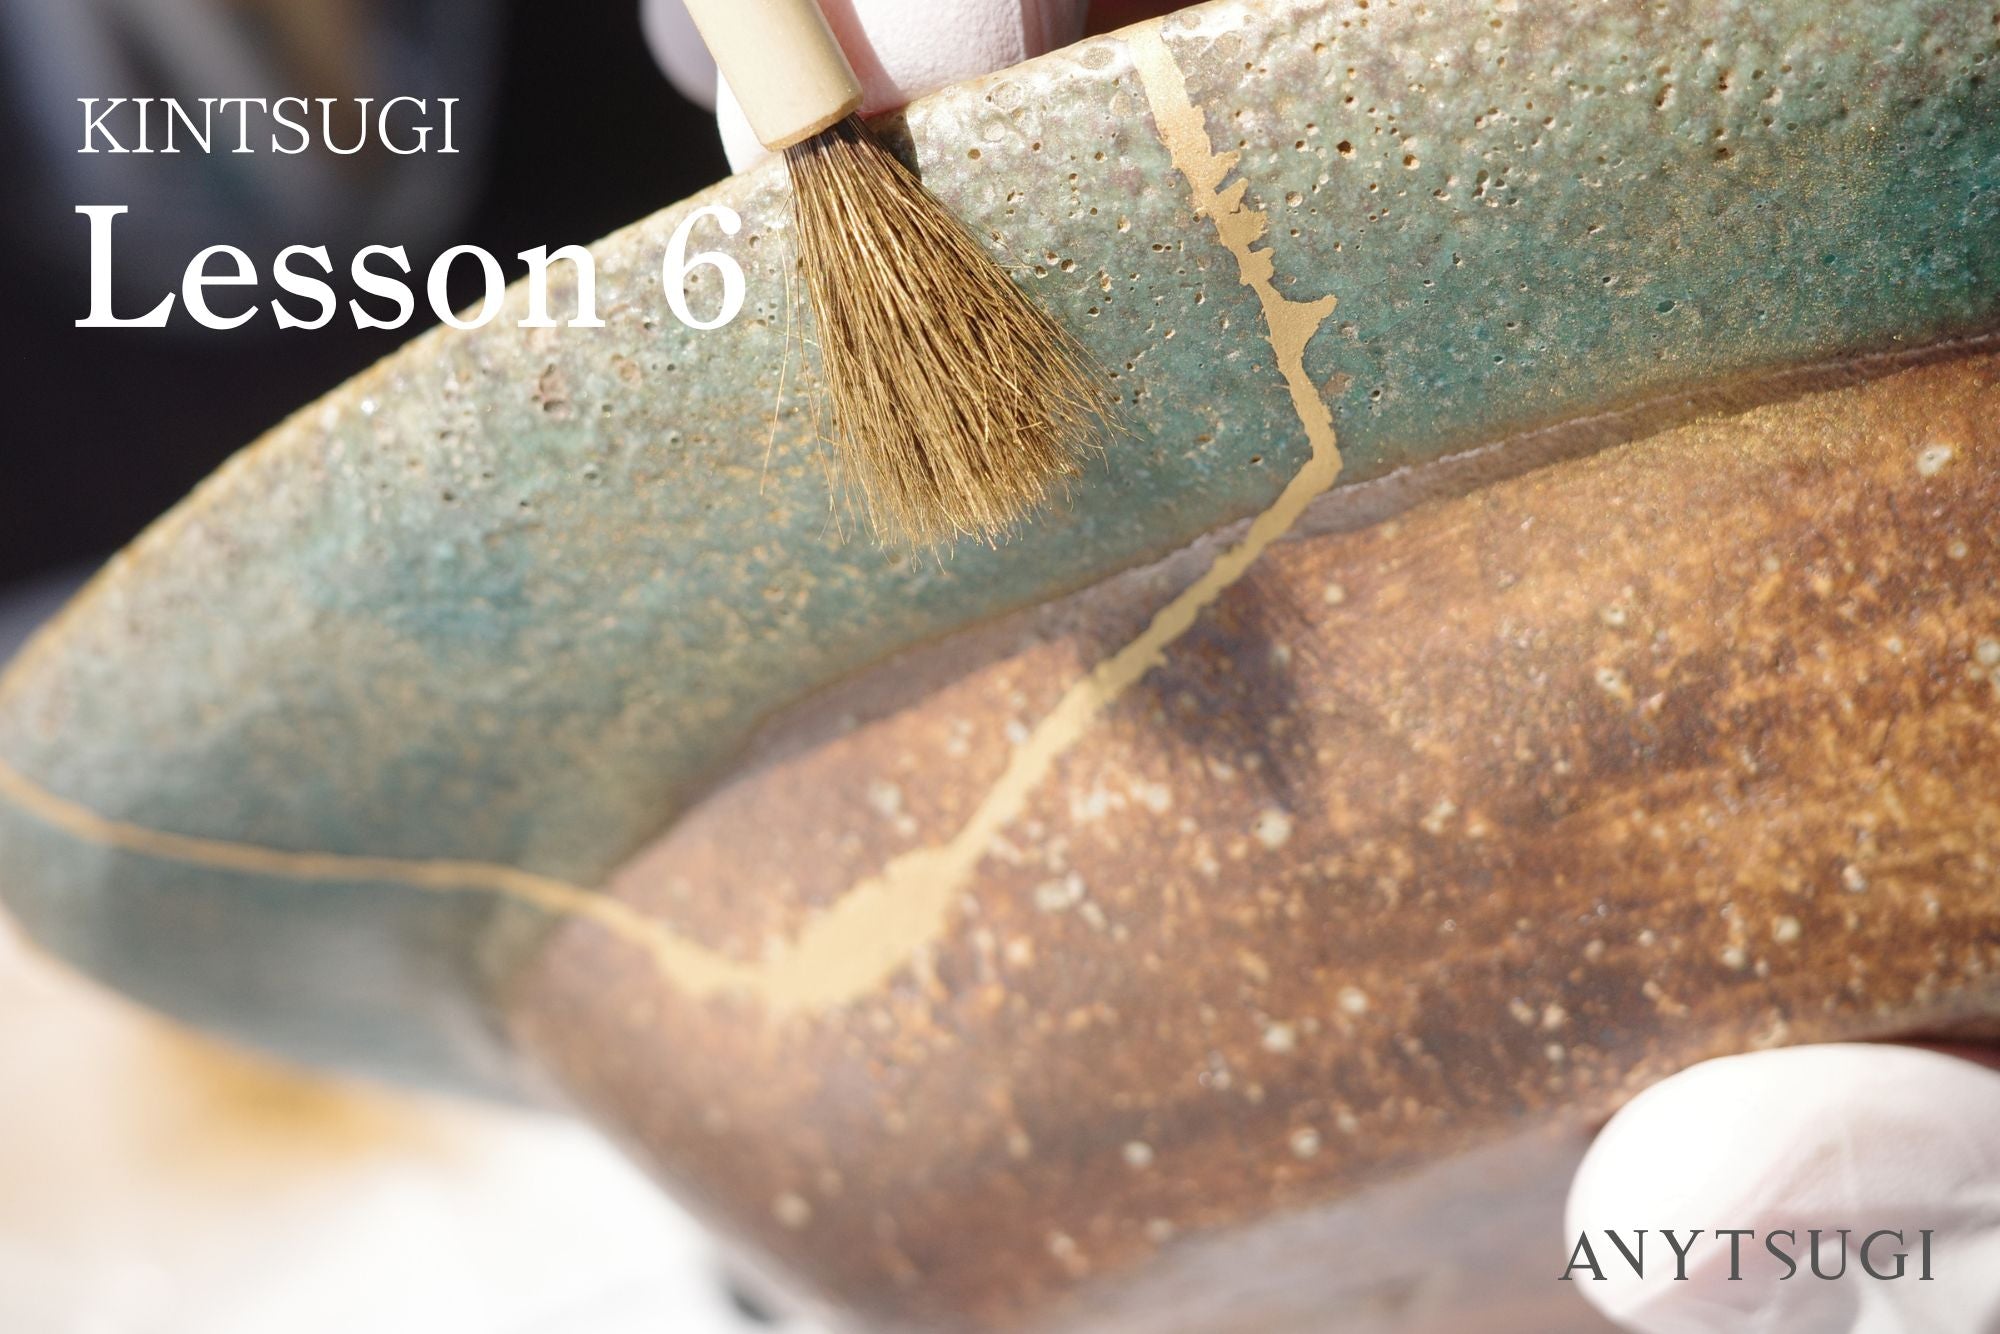
LESSON 06
Finishing
Apply bengala-urushi, sprinkle gold powder, and the piece is complete. Care instructions after completion are also covered.
Read →
FAQ
FAQ
Contact with liquid urushi may cause a rash. However, most people can work without issue by wearing rubber gloves and ensuring adequate ventilation. Once the urushi has fully cured, it becomes harmless, so you can use your finished ceramic with complete confidence.
See Lesson 1 for details →The process takes approximately one month, though the actual hands-on work amounts to around five hours. Because urushi cures slowly under controlled humidity, drying time is required between each step. Taking your time is the surest path to a beautiful finish.
See Lesson 1 for details →Pottery and porcelain are ideal for kintsugi. Glass, plastic, and metal pieces are more challenging for beginners and require specialized techniques. We recommend starting with pottery or porcelain.
See Lesson 1 for details →Beginner-friendly kits are available in the ANYTSUGI online shop. Each kit includes everything you need — raw urushi, gold powder, brushes, tonoko powder, and more.
See Online Shop →Start by reading Lesson 1 to prepare your tools, then move on to the lesson that matches your ceramic's condition. Crack → Lesson 2, Break → Lesson 3, Chip → Lesson 4. Lessons 5 and 6 (intermediate coat and finishing) apply to all damage types.
See Lesson 1 for details →Before the urushi has cured, some corrections are possible. If the bonding doesn't go as planned, you can remove it with a design knife after curing and try again. Kintsugi also embraces the spirit of accepting imperfection as part of the piece's character.
Glossary
Glossary
A collection of specialized terms that appear throughout the course.
Tap any term to see its definition.